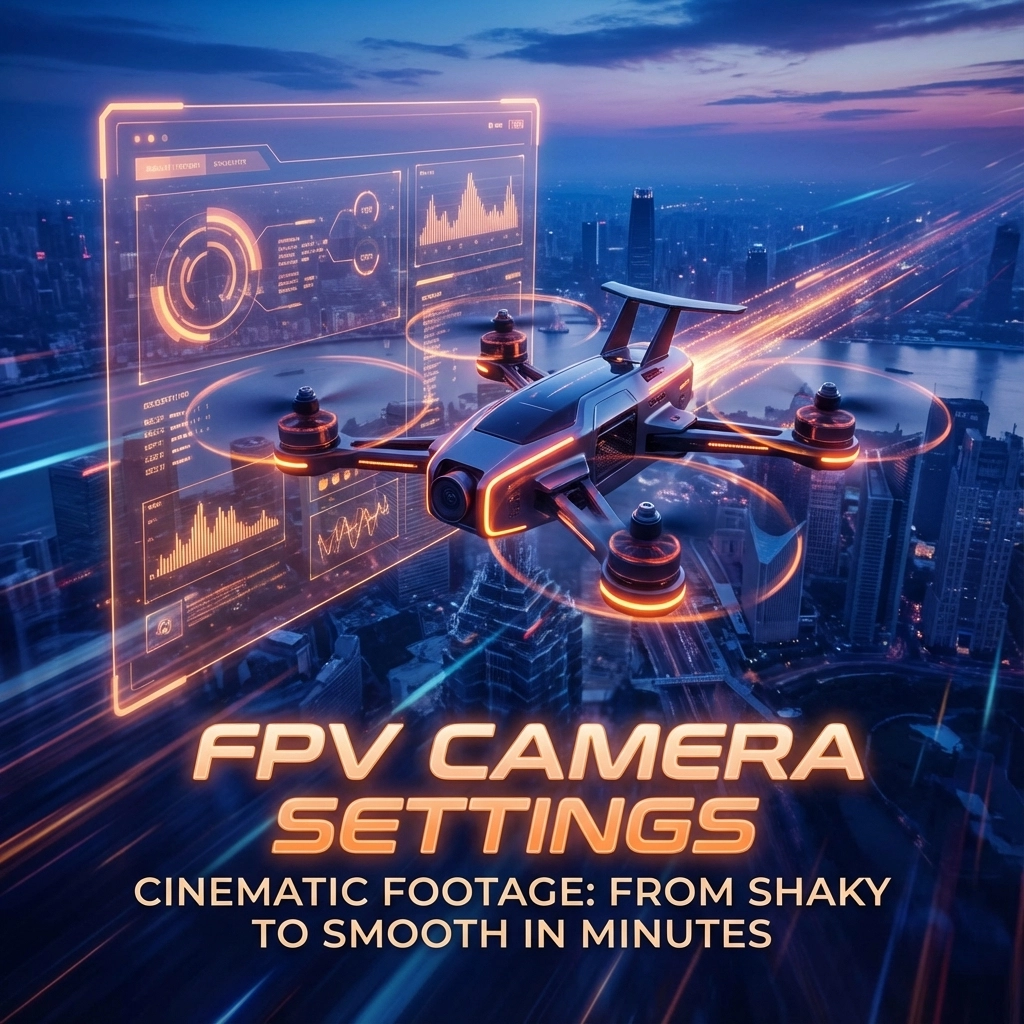
The difference between amateur FPV footage and professional cinematic aerial videography isn’t just the pilot’s skill: it’s the camera settings. In just a few minutes of configuration, you can transform your shaky, amateur-looking drone footage into smooth, Hollywood-quality cinematic content that rivals professional productions.
Whether you’re an FPV hobbyist looking to elevate your content or a potential client considering our aerial video services, understanding these fundamental camera settings will revolutionize how you capture the world from above.
The Foundation: Resolution and Frame Rate Settings
Your journey to cinematic excellence begins with choosing the right resolution and frame rate combination. For professional cinematic drone videography, you have two primary paths:
The Cinematic Route: 5.3K at 24fps
This is the gold standard for film-like footage. The 24fps frame rate creates natural motion blur that our eyes associate with cinema, while 5.3K resolution provides incredible detail and flexibility in post-production. Lock your settings to 5.3K, 16:9 aspect ratio, 24fps for that authentic film look.
The Versatile Route: 4K at 60fps
Perfect for dynamic FPV flights where you need smooth slow-motion capabilities. This setting gives you the flexibility to slow footage down to 24fps in post for dramatic effect while maintaining buttery-smooth playback. For DJI FPV systems, ensure transmission quality is set to “high quality” to unlock true 4K 60fps recording.
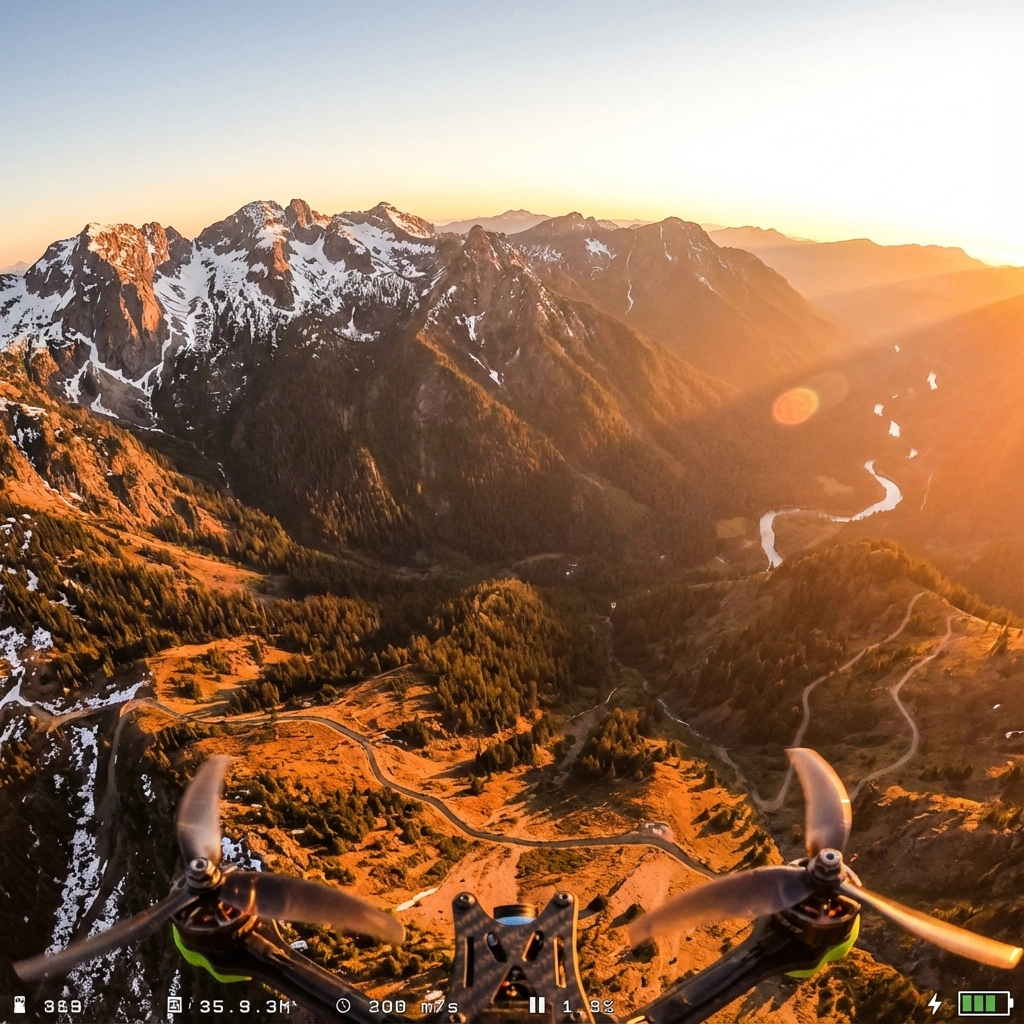
Mastering Camera Angle: The Secret to Dynamic Footage
Camera angle is where art meets physics in FPV drone setup. The angle you choose dramatically affects both the flying experience and the final footage quality.
For Cinematic Sweeps: 15-25 Degree Uptilt
A moderate uptilt creates those breathtaking forward-moving shots where the horizon gradually reveals itself. This angle works perfectly for landscape reveals, architectural flythroughs, and establishing shots that captivate viewers.
For Dynamic Racing Shots: 35-45 Degree Uptilt
Higher camera angles create more aggressive, immersive footage perfect for high-speed flights through obstacles or urban environments. The steep angle adds energy and excitement to your shots.
Pro Tip: Always consider your flight path when setting camera angle. Cinematic drone videography requires planning your shots around your camera’s perspective, not the other way around.
GoPro Settings That Separate Pros from Amateurs
Your GoPro configuration can make or break your cinematic aspirations. Here’s the exact setup used by professional aerial videographers:
Essential GoPro Settings:
- Resolution: 5.3K or 4K (based on your frame rate choice)
- Bit Rate: High (maximum available)
- Bit Depth: 10-bit if your GoPro supports it
- Profile: Standard (avoid HDR or other processing-heavy modes)
- Sharpness: Low (you’ll add this in post for better control)
- ISO: Locked at 100 (minimum noise, maximum quality)
The Critical Shutter Speed Rule:
Lock your shutter speed at exactly double your frame rate. Shooting 24fps? Use 1/48th shutter. Shooting 60fps? Use 1/120th shutter. This creates natural motion blur that makes footage appear smooth and cinematic rather than the “video look” that screams amateur.
ND Filters: Your Secret Weapon for Professional Results
Neutral Density (ND) filters are game-changers for achieving proper exposure while maintaining that crucial shutter speed rule. Think of them as sunglasses for your camera: they reduce light without affecting color.
Essential ND Filter Kit:
- ND8 (3-stop): Perfect for overcast days or golden hour shooting
- ND16 (4-stop): Ideal for bright daylight conditions
- ND32 (5-stop): Essential for extremely bright conditions or snow/beach environments
Pro Application: If you’re shooting 4K 60fps (1/120th shutter) on a bright day, your camera might overexpose even at ISO 100. An ND16 filter allows you to maintain that critical 1/120th shutter speed while achieving perfect exposure.

Electronic Image Stabilization: From Shaky to Smooth
This single setting transforms amateur footage into professional-grade content. Electronic Image Stabilization (EIS) is non-negotiable for cinematic drone videography.
Activation Process:
- Navigate to your camera’s advanced settings
- Enable Electronic Image Stabilization (EIS)
- For DJI systems, disable “image roll correction” to prevent excessive cropping
- Test with gentle movements before aggressive flying
Understanding the Trade-offs:
EIS crops your footage slightly (typically 10-15%) to create stabilization room. Plan your shots accordingly, leaving extra space around your subject. The slight crop is worth the dramatically improved smoothness.
When to Disable EIS:
Only disable for extremely aggressive FPV racing where maximum field of view matters more than smoothness. For cinematic work, always keep it enabled.
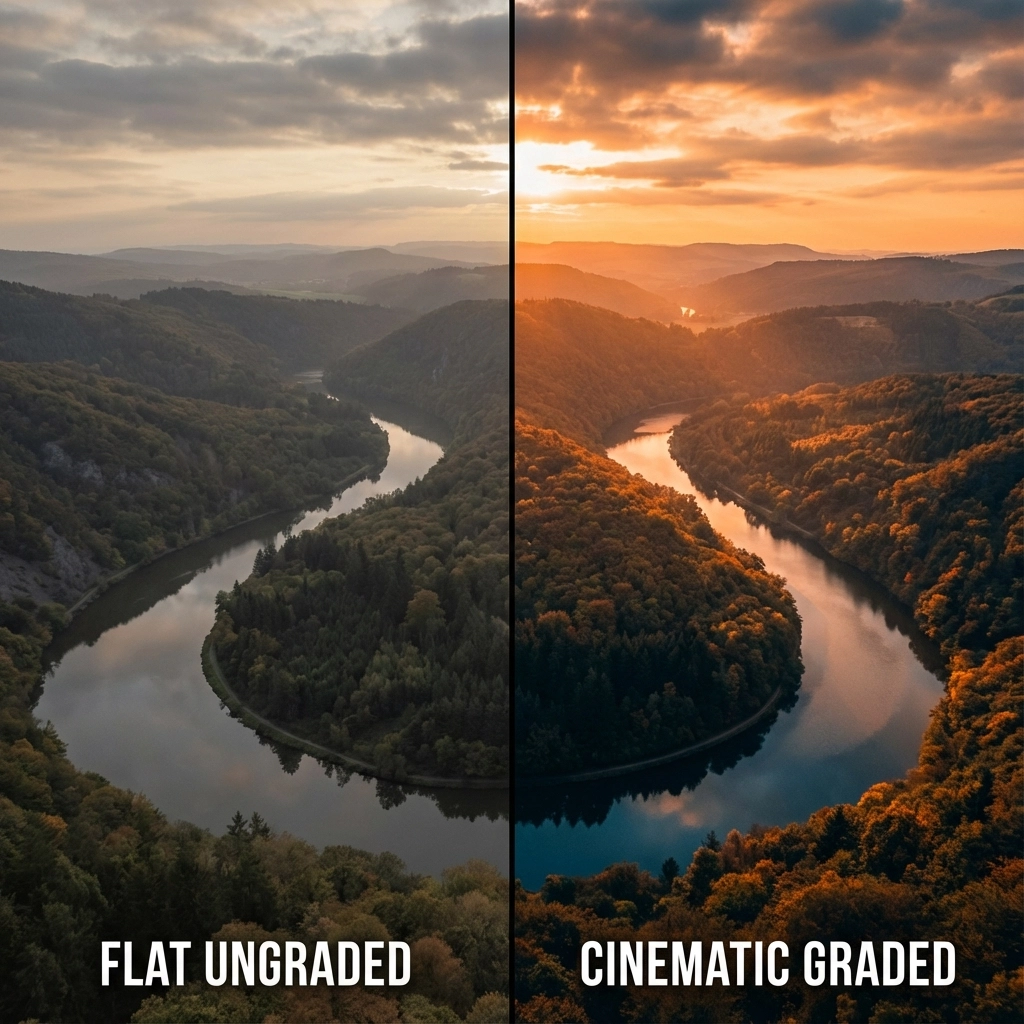
Color Grading Fundamentals for Cinematic Results
Your camera settings create the foundation, but color grading transforms good footage into stunning cinematic aerial videography.
Shooting for Post-Production:
- Use Standard Profile: Avoid pre-processed looks like Vivid or Saturated
- Shoot Flat: Lower contrast and saturation preserve more color information
- Protect Highlights: Slightly underexpose rather than clip highlights
- Monitor White Balance: Lock white balance to prevent color shifts during flight
Basic Cinematic Color Grading:
- Adjust Exposure: Lift shadows, protect highlights
- Add Contrast: Create depth with subtle S-curve adjustments
- Color Temperature: Warm highlights, cool shadows for that “film look”
- Saturation: Increase selectively: focus on skies and landscapes
- Vignetting: Subtle darkening around edges draws focus to center
Advanced Techniques for Professional Results
Manual Focus Considerations:
Many FPV cameras default to auto-focus, creating subtle breathing effects during flight. For truly professional cinematic drone videography, consider manual focus locked at hyperfocal distance for your typical flying altitude.
Audio Synchronization:
While FPV footage typically uses music overlays, professional aerial video services often sync multiple camera angles. Use a clap or visual marker at the beginning of flights for easier post-production alignment.
Backup Recording:
Always enable “record on takeoff” to ensure you capture every moment. Nothing’s worse than perfect flying with no recording to show for it.
Troubleshooting Common Issues
Jello Effect (Rolling Shutter):
If you notice wavy distortions during fast movements, your shutter speed might be too slow. Increase shutter speed slightly or add more vibration damping to your camera mount.
Overexposed Footage:
Bright conditions overwhelming your camera? Add stronger ND filters rather than increasing shutter speed beyond the double-frame-rate rule.
Color Inconsistency:
Lock white balance before takeoff and avoid auto-exposure modes that adjust during flight. Consistent settings create professional-looking footage.
From Settings to Success: Your Next Steps
Mastering these camera settings is just the beginning of your cinematic FPV journey. The real magic happens when you combine technical precision with creative vision and skilled piloting.
At TechInMotion360, we’ve spent years perfecting these techniques across hundreds of professional aerial projects. Whether you’re ready to implement these settings on your own setup or you’d prefer to experience the results through our professional FPV drone services, the path to cinematic excellence starts with understanding the fundamentals.
Ready to Transform Your Footage?
These settings will immediately improve your results, but remember: cinematic drone videography is an art form that combines technical mastery with creative vision. Start with these foundational settings, practice consistently, and don’t be afraid to experiment as you develop your unique visual style.
The sky isn’t the limit: it’s your canvas. Every flight is an opportunity to capture something extraordinary, and with these camera settings dialed in, you’re equipped to turn that vision into stunning cinematic reality.
Your journey from shaky footage to smooth, professional cinematic content starts now. The only question is: what amazing story will you tell from the sky?
Leave a comment