So you’ve finally taken the plunge into FPV flying. Welcome to one of the most exhilarating hobbies on the planet. There’s nothing quite like strapping on your goggles and seeing the world from a completely new perspective, zipping through trees, diving off buildings, or capturing cinematic footage that makes people’s jaws drop.
But here’s the thing: most beginners crash hard before they ever really get started. And I’m not just talking about crashing their drones (though that happens too). I’m talking about making preventable setup mistakes that kill the fun before it even begins.
After years of helping pilots get airborne at TechInMotion360, I’ve seen the same errors pop up again and again. The good news? Every single one of them is fixable. Let’s break down the seven biggest mistakes you’re probably making right now, and exactly how to turn things around.
Mistake #1: Skipping Simulator Practice
Look, I get it. You just dropped serious cash on your first FPV rig, and that shiny quad is calling your name. The last thing you want to do is sit at your computer flying a virtual drone when the real one is right there.
But here’s the brutal truth: FPV flying is hard. Really hard. The controls are counterintuitive, the perspective is disorienting, and your reflexes haven’t been trained yet. Without simulator time, your first real flight will likely last about three seconds before you’re picking pieces out of a tree.
The Fix: Commit to at least 10 hours of simulator practice in Acro (manual) mode before your first real flight. Yes, ten hours. It sounds like a lot, but it’s the difference between a controlled maiden voyage and an expensive crash. Popular simulators like Liftoff, Velocidrone, and DRL Simulator will build the muscle memory you need.

Mistake #2: Ignoring Component Compatibility
This one bites builders hard. You find a great deal on motors, grab some random ESCs, pick up a flight controller that looked cool, and then wonder why things are smoking when you plug in the battery.
Here’s what’s happening: electronic components have specific voltage ratings, and mixing them incorrectly is a recipe for disaster. Most components handle either 5V (from the flight controller’s regulator) or direct battery voltage (anywhere from 7V to 36V depending on your pack). Sending 22V to a component rated for 5V? That’s an instant magic smoke release.
The Fix: Before purchasing anything, map out your entire build and verify voltage compatibility across all components. When in doubt, stick with quality drone components from trusted sources that provide clear specs. If you’re new to building, consider a BNF or PNP drone where compatibility has already been sorted out for you.
Mistake #3: Getting the Power-On Sequence Wrong
You’d think turning on electronics would be straightforward, right? Press the power button and go. But FPV systems are picky about order, and doing it wrong can cause binding issues, video interference, or, in worst cases, a runaway drone.
The Fix: Always follow this sequence:
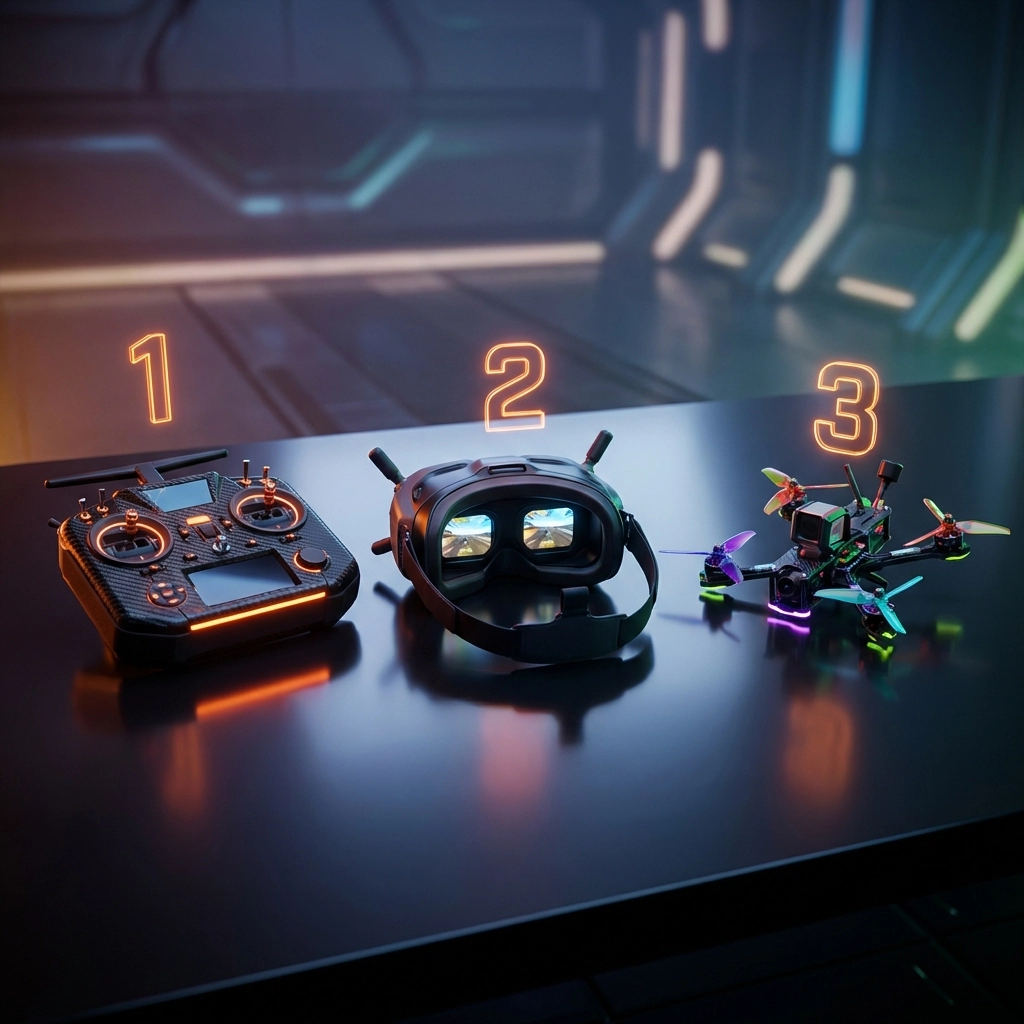
- Transmitter (radio) first – This ensures your drone has a control signal to bind to
- Goggles second – Get your video feed ready
- Drone last – Only power up when everything else is ready to receive
And when you’re done flying? Reverse the order. Drone off first, then goggles, then transmitter. This simple habit will save you from countless headaches.

Mistake #4: Throttle Position Mistakes When Arming
Picture this: you’re at the field, everything’s powered on correctly, you flip the arm switch and… nothing. The drone just sits there. You try again. Still nothing. Frustration builds.
Nine times out of ten, this is a throttle position issue. As a safety feature, most flight controllers won’t arm unless your throttle stick is at the absolute bottom of its travel. Even a tiny bit of upward position, so small you might not notice, will prevent arming.
The Fix: Before attempting to arm, physically push your throttle stick all the way down and hold it there. Some pilots develop a habit of giving the stick a little extra push just to be sure. Also, check your Betaflight (or other configurator) settings to ensure your throttle endpoints are calibrated correctly. Your min throttle value should read close to 1000 when the stick is fully down.
Mistake #5: Starting in the Wrong Flight Mode
Here’s where ego gets a lot of beginners in trouble. You’ve seen those incredible freestyle videos, and you know the pros fly in Acro mode. So naturally, you want to start there too.
Please don’t.
Acro mode gives you complete manual control: which is amazing once you know what you’re doing. But for a true beginner, it’s like learning to drive in a Formula 1 car. You need the basics first.
The Fix: Progress through flight modes systematically:
- Level/Angle mode – The drone self-levels when you release the sticks. Perfect for learning basic orientation and building confidence.
- Horizon mode – Similar to level mode but allows flips and rolls at full stick deflection. Good for learning aerobatics with a safety net.
- Acro mode – Full manual control. Graduate to this once you’re comfortable with the others.
There’s no shame in the progression. Every pilot you admire went through these same steps.
Mistake #6: Poor Soldering and Assembly
Building your own FPV drone is incredibly rewarding, but bad solder joints are the silent killer of builds. A cold joint might work fine on the bench, then vibrate loose mid-flight. Excess solder can bridge connections and short components. Insufficient heat creates weak connections that fail under stress.
The Fix: Invest in proper tools before you start building:
- Quality soldering iron (temperature-controlled, 60W minimum)
- Good solder (60/40 or 63/37 rosin core)
- Flux (makes everything flow better)
- Hex drivers in 1.5mm, 2mm, and 2.5mm sizes
- Proper M8 nut driver for props
If soldering intimidates you, there’s no shame in getting help. Our FPV Drone Support Packages include build assistance and troubleshooting for pilots who want expert guidance. Sometimes having a pro check your work: or handle the tricky bits: is the smartest move you can make.
Mistake #7: First Flights on Hard Surfaces
Your first few takeoffs and landings are going to be rough. That’s not pessimism: it’s reality. And when those rough landings happen on concrete or asphalt, you’re looking at broken props, cracked frames, and potentially damaged cameras or motors.
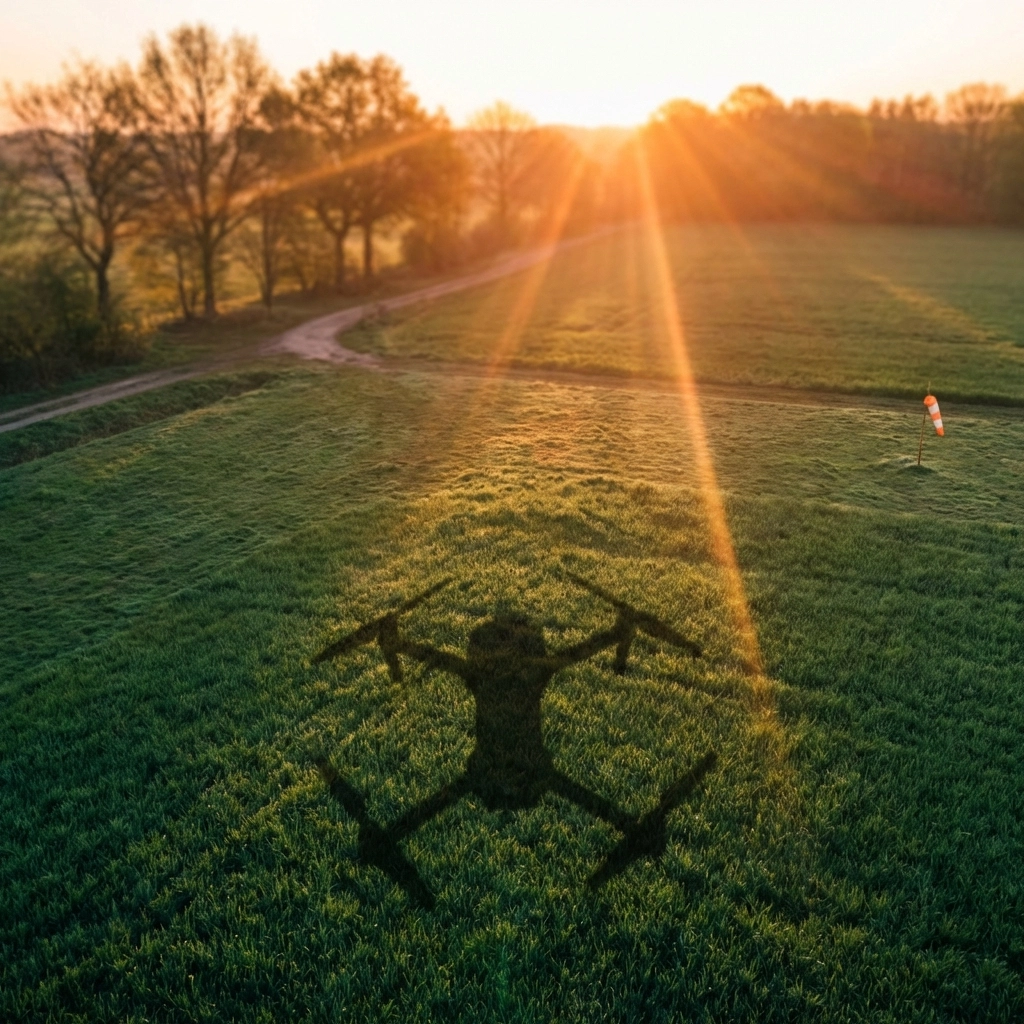
The Fix: Find a grassy field for your initial flights. Soft surfaces are incredibly forgiving. A tipover that would destroy a prop on concrete becomes a harmless tumble in thick grass. Once you’ve got consistent takeoffs, hovering, and controlled landings down, you can graduate to harder surfaces.
Also consider having spare parts on hand. Extra props are essential. If you’re flying AOS RC frames, keep backup arms available. Being prepared for minor damage means you’re back in the air faster.
The Bigger Picture
Here’s what I want you to take away from all this: mistakes are part of the journey. Every experienced FPV pilot has a graveyard of broken props and embarrassing crash stories. The difference is that they learned from each one.
The pilots who succeed aren’t the ones who never fail: they’re the ones who set themselves up to fail safely, learn quickly, and keep progressing.
If you’re feeling overwhelmed by the setup process or just want someone in your corner as you learn, check out our support packages designed specifically for beginners. From quick troubleshooting calls to full build assistance, having expert backup makes the learning curve a lot less steep.
Now get out there, put in your simulator hours, double-check those connections, and start flying. The sky’s waiting.
Want more FPV tips and guides? Visit the TechInMotion360 blog for regular updates, or browse our shop for quality components and support services.
Leave a comment