
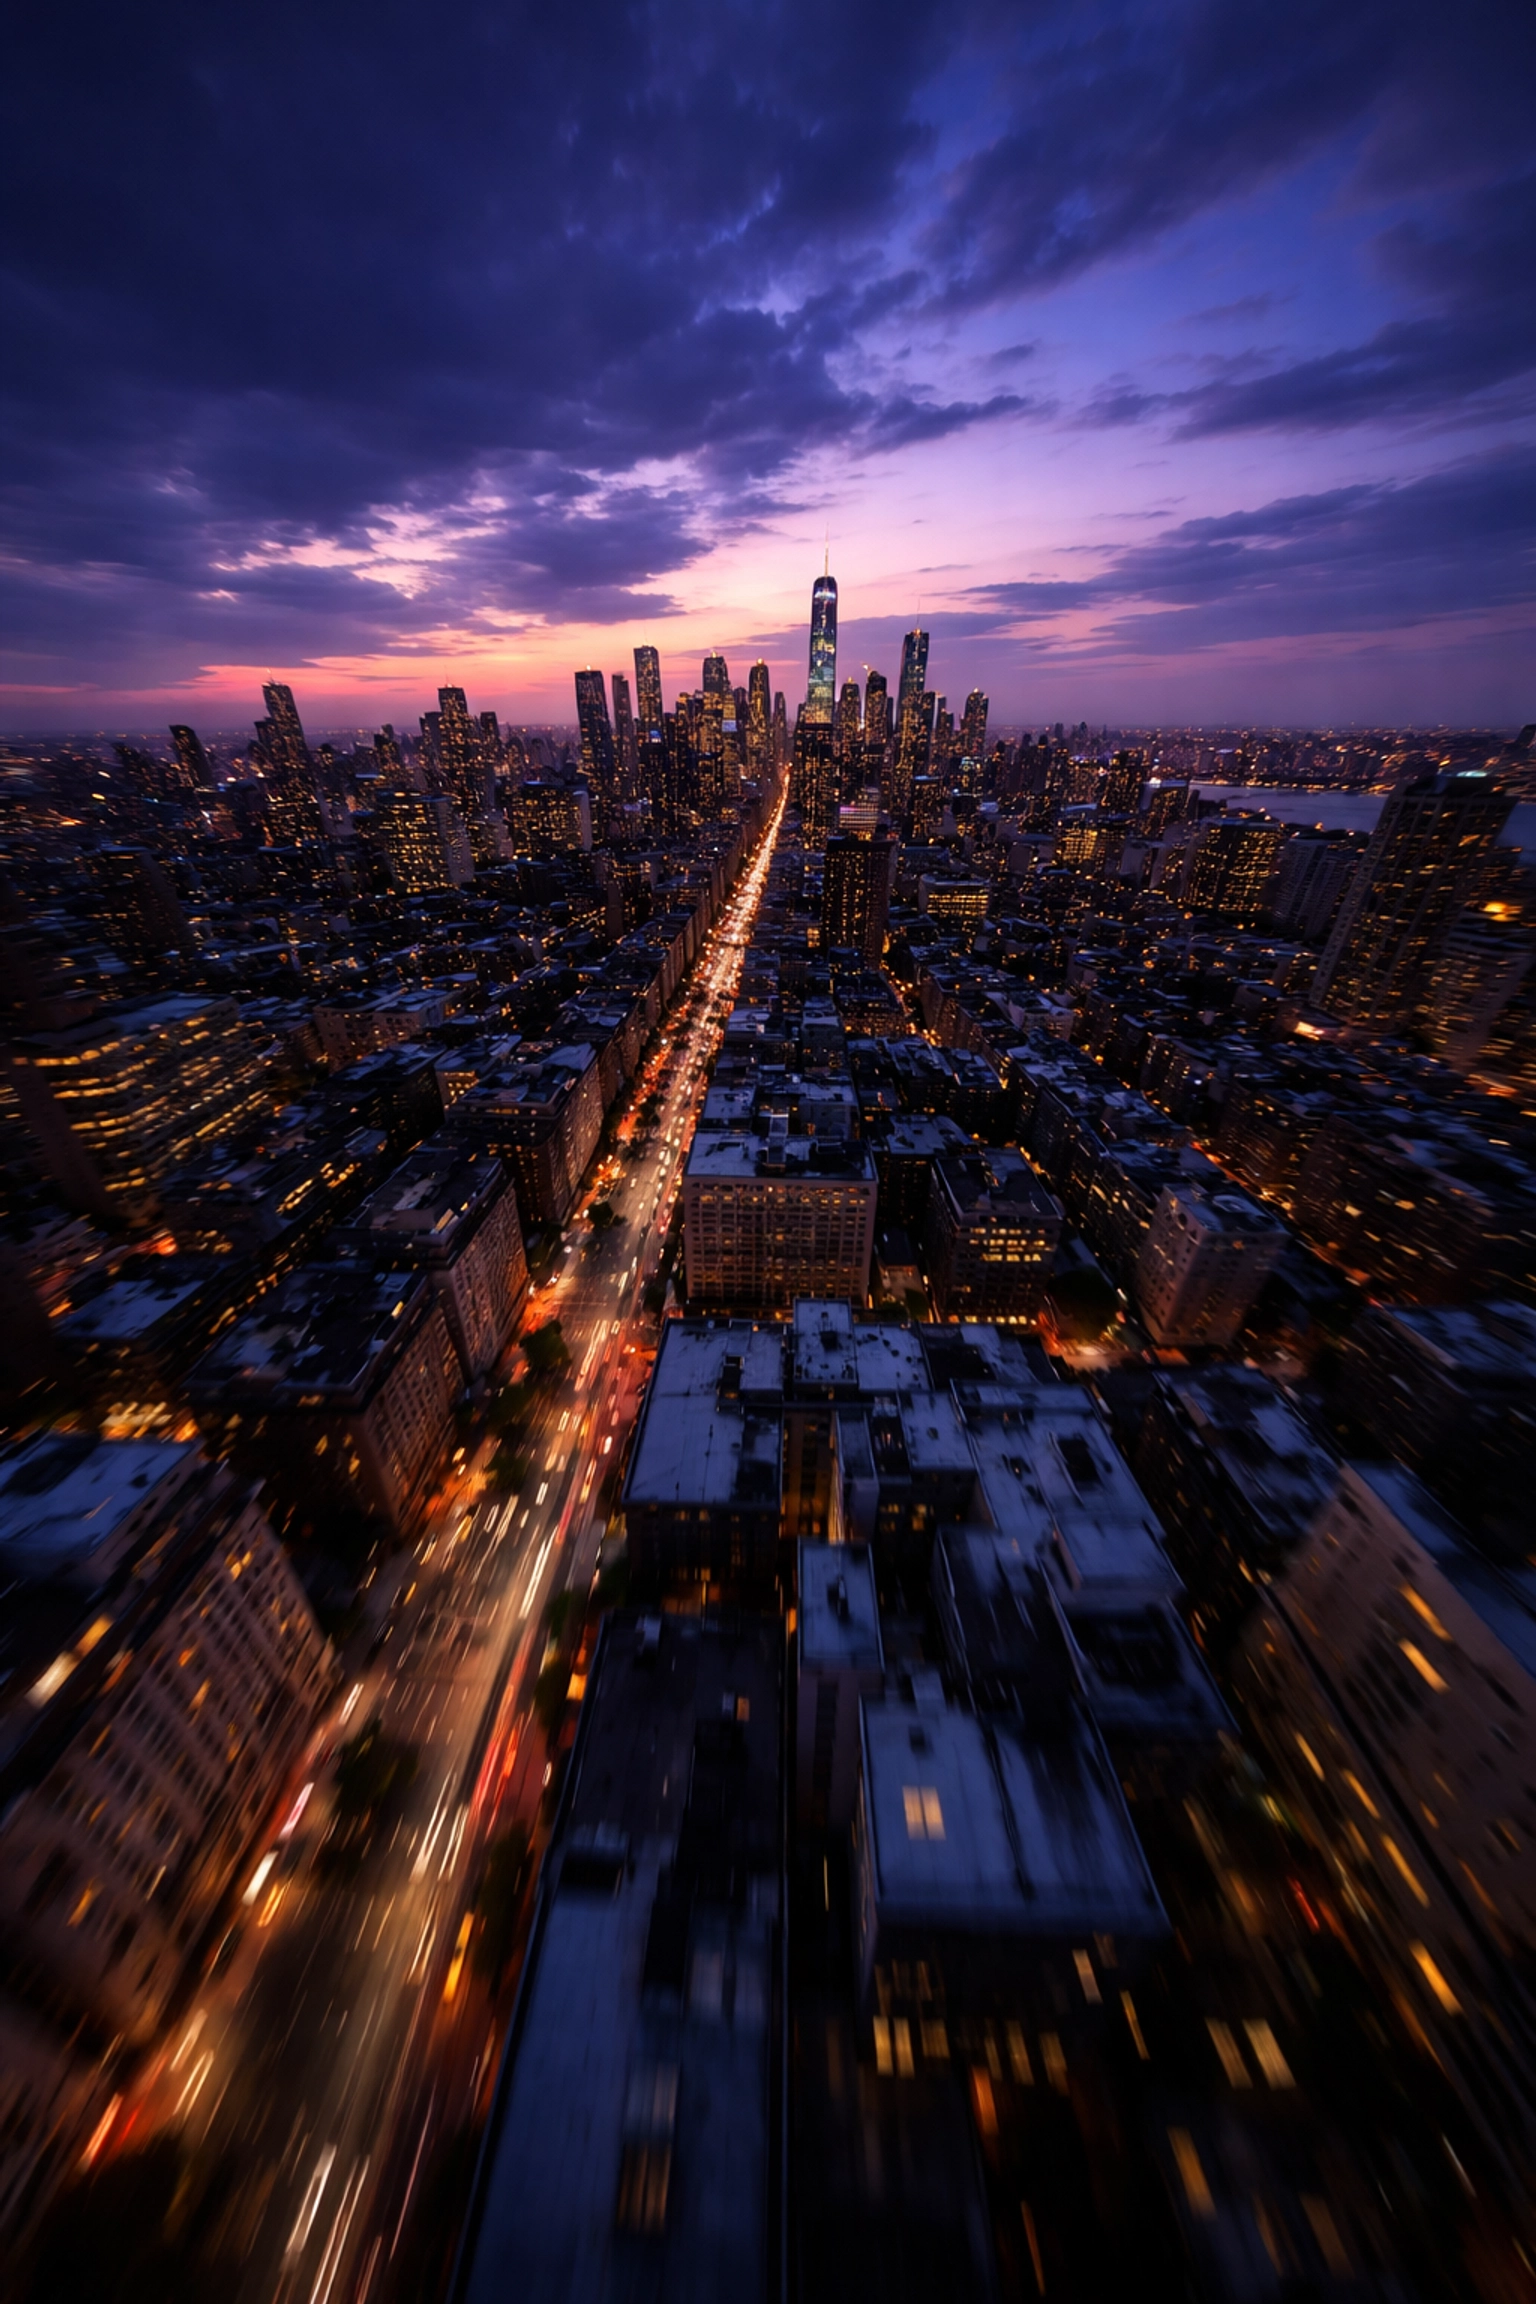
There's something magical about twilight. The sky shifts through impossible shades of purple and blue, city lights flicker to life, and the world takes on a cinematic quality that daylight simply can't match. For FPV pilots, these golden (or should I say, blue) moments represent some of the most compelling footage opportunities available.
But here's the catch, low-light FPV cinematography is notoriously unforgiving. Push your settings wrong, and you'll end up with grainy, unusable footage that no amount of post-production magic can save. Get it right, though, and you'll capture visuals that make clients' jaws drop and set your work apart from every other pilot still chasing noon-day sun.
Let's break down exactly how to master the darkness.
Understanding the Low-Light Challenge
Before we dive into solutions, let's understand what we're fighting against. When light levels drop, your camera's sensor struggles to gather enough photons to create a clean image. To compensate, the camera amplifies the signal, and that amplification introduces noise. It's the visual equivalent of turning up the volume on a quiet recording and hearing all that hiss and static come through.
The goal of low-light cinematography isn't to eliminate this problem entirely (physics won't allow it), but to manage it strategically so the noise stays invisible to your audience while your subject stays properly exposed and beautifully rendered.
The Holy Trinity: Frame Rate, Shutter Speed, and ISO
These three settings work together to determine your exposure, and in low-light situations, every decision involves trade-offs. Here's how to navigate them like a pro.
Frame Rate: Go Low to Gather More Light
This is counterintuitive for many pilots who've been told "always shoot 60fps for that smooth FPV look." But here's the reality, lower frame rates give you a massive advantage when light is scarce.
The reason comes down to the 180° shutter rule. At 24fps, your shutter speed should sit around 1/48. At 60fps, you're looking at 1/120. That's nearly three times less light hitting your sensor at the higher frame rate.
For low-light work, 24fps or 30fps should be your go-to. Yes, you'll sacrifice some of that buttery slow-motion capability, but you'll gain exposure headroom that makes the difference between usable footage and digital mud. Plus, 24fps has that classic cinematic motion blur that high-end productions have relied on for decades.
ISO: The Noise Threshold You Can't Ignore
ISO is where most pilots blow their low-light footage. It's tempting to crank it up when the image looks dark, but there's a hard ceiling you need to respect.
For most action cameras commonly used in FPV (like GoPros), clean footage tops out around ISO 400. Push to 800, and you'll start seeing noticeable grain that degrades your image quality. Beyond that? You're in emergency-only territory.
The key is to treat ISO as your last resort, not your first adjustment. Lock it at the lowest value that gives you proper exposure after you've optimized everything else. If you find yourself needing ISO 1600+ to get a usable image, that's your cue to add supplementary lighting or wait for better ambient conditions, not to accept the noise.
Shutter Speed: Follow the Rule (Mostly)
Stick to the 180° shutter rule for natural-looking motion blur. At 24fps, that's 1/48 (or 1/50 on cameras that don't offer 1/48). At 30fps, aim for 1/60.
Can you go slower to gather more light? Technically yes, but you'll introduce motion blur that looks unnatural and can make your footage feel dreamy or disorienting, not usually what clients want. Stay disciplined here.
If you want to dive deeper into optimizing your camera settings for cinematic results, check out our complete guide to FPV camera settings.
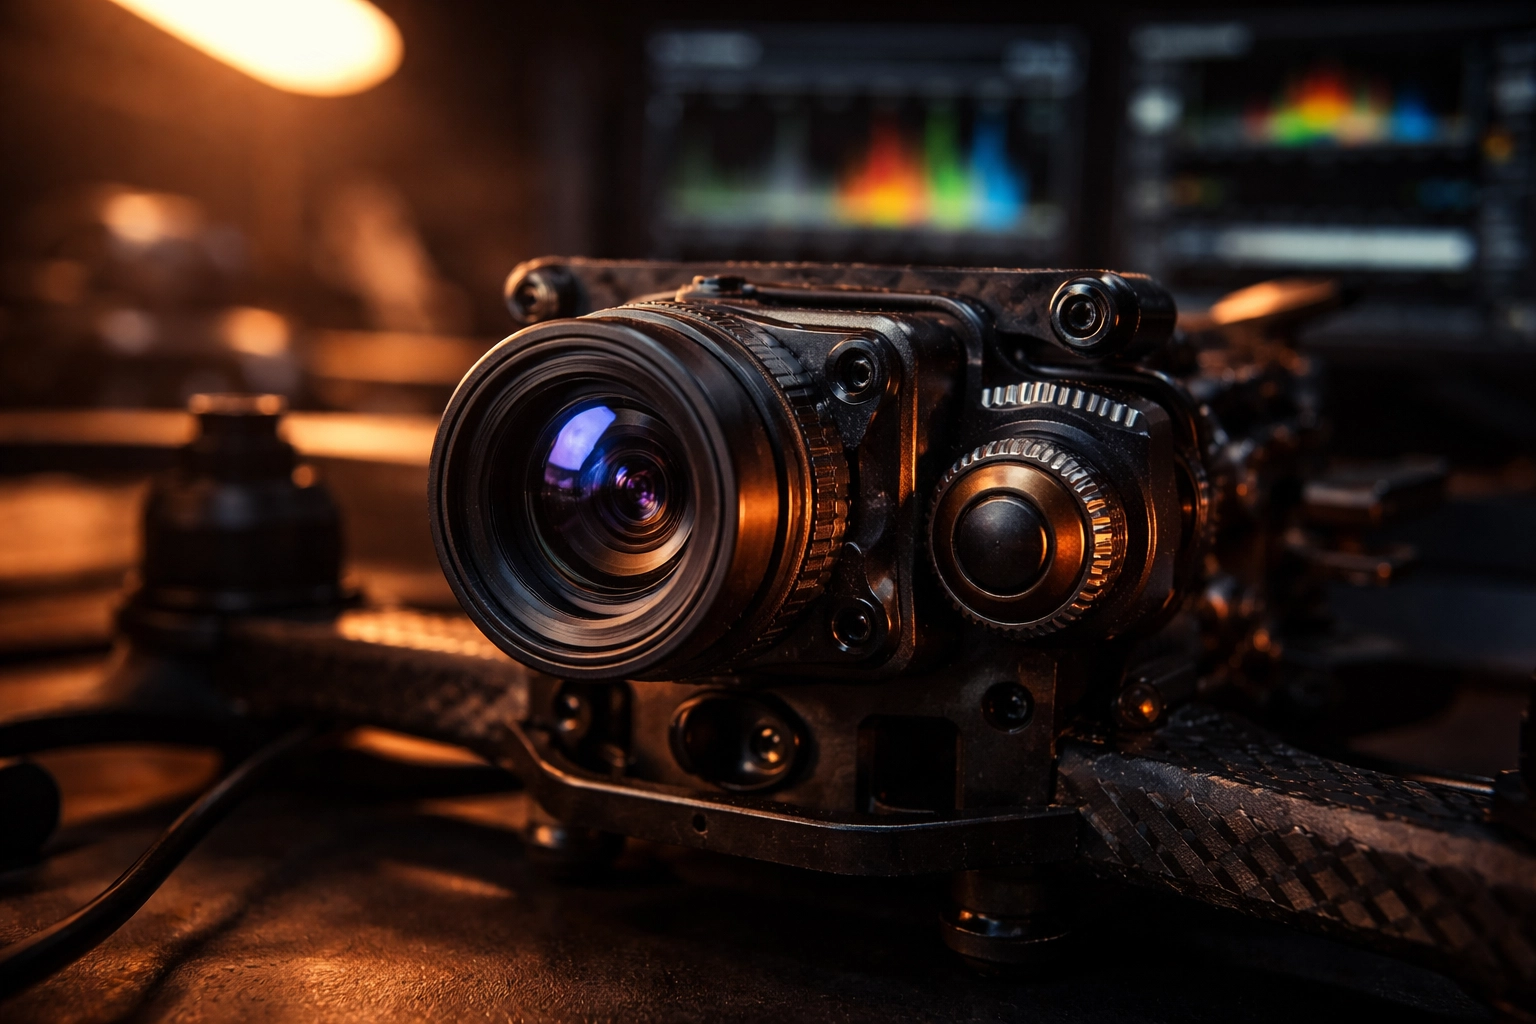
Aperture and Lens Selection: Your Secret Weapon (and What to Look For in the Best Low Light FPV Camera)
Here's where hardware choices make a dramatic difference. Aperture, measured in f-stops, determines how much light your lens gathers. A wider aperture (lower f-number) means more light hitting the sensor.
Standard FPV cameras typically ship with f/2.8 lenses. That's decent for daytime work, but limiting when the sun goes down. If you're shopping for the best low light FPV camera, prioritize fast glass and sensitivity over “general purpose” specs—because low light punishes anything that’s just average.
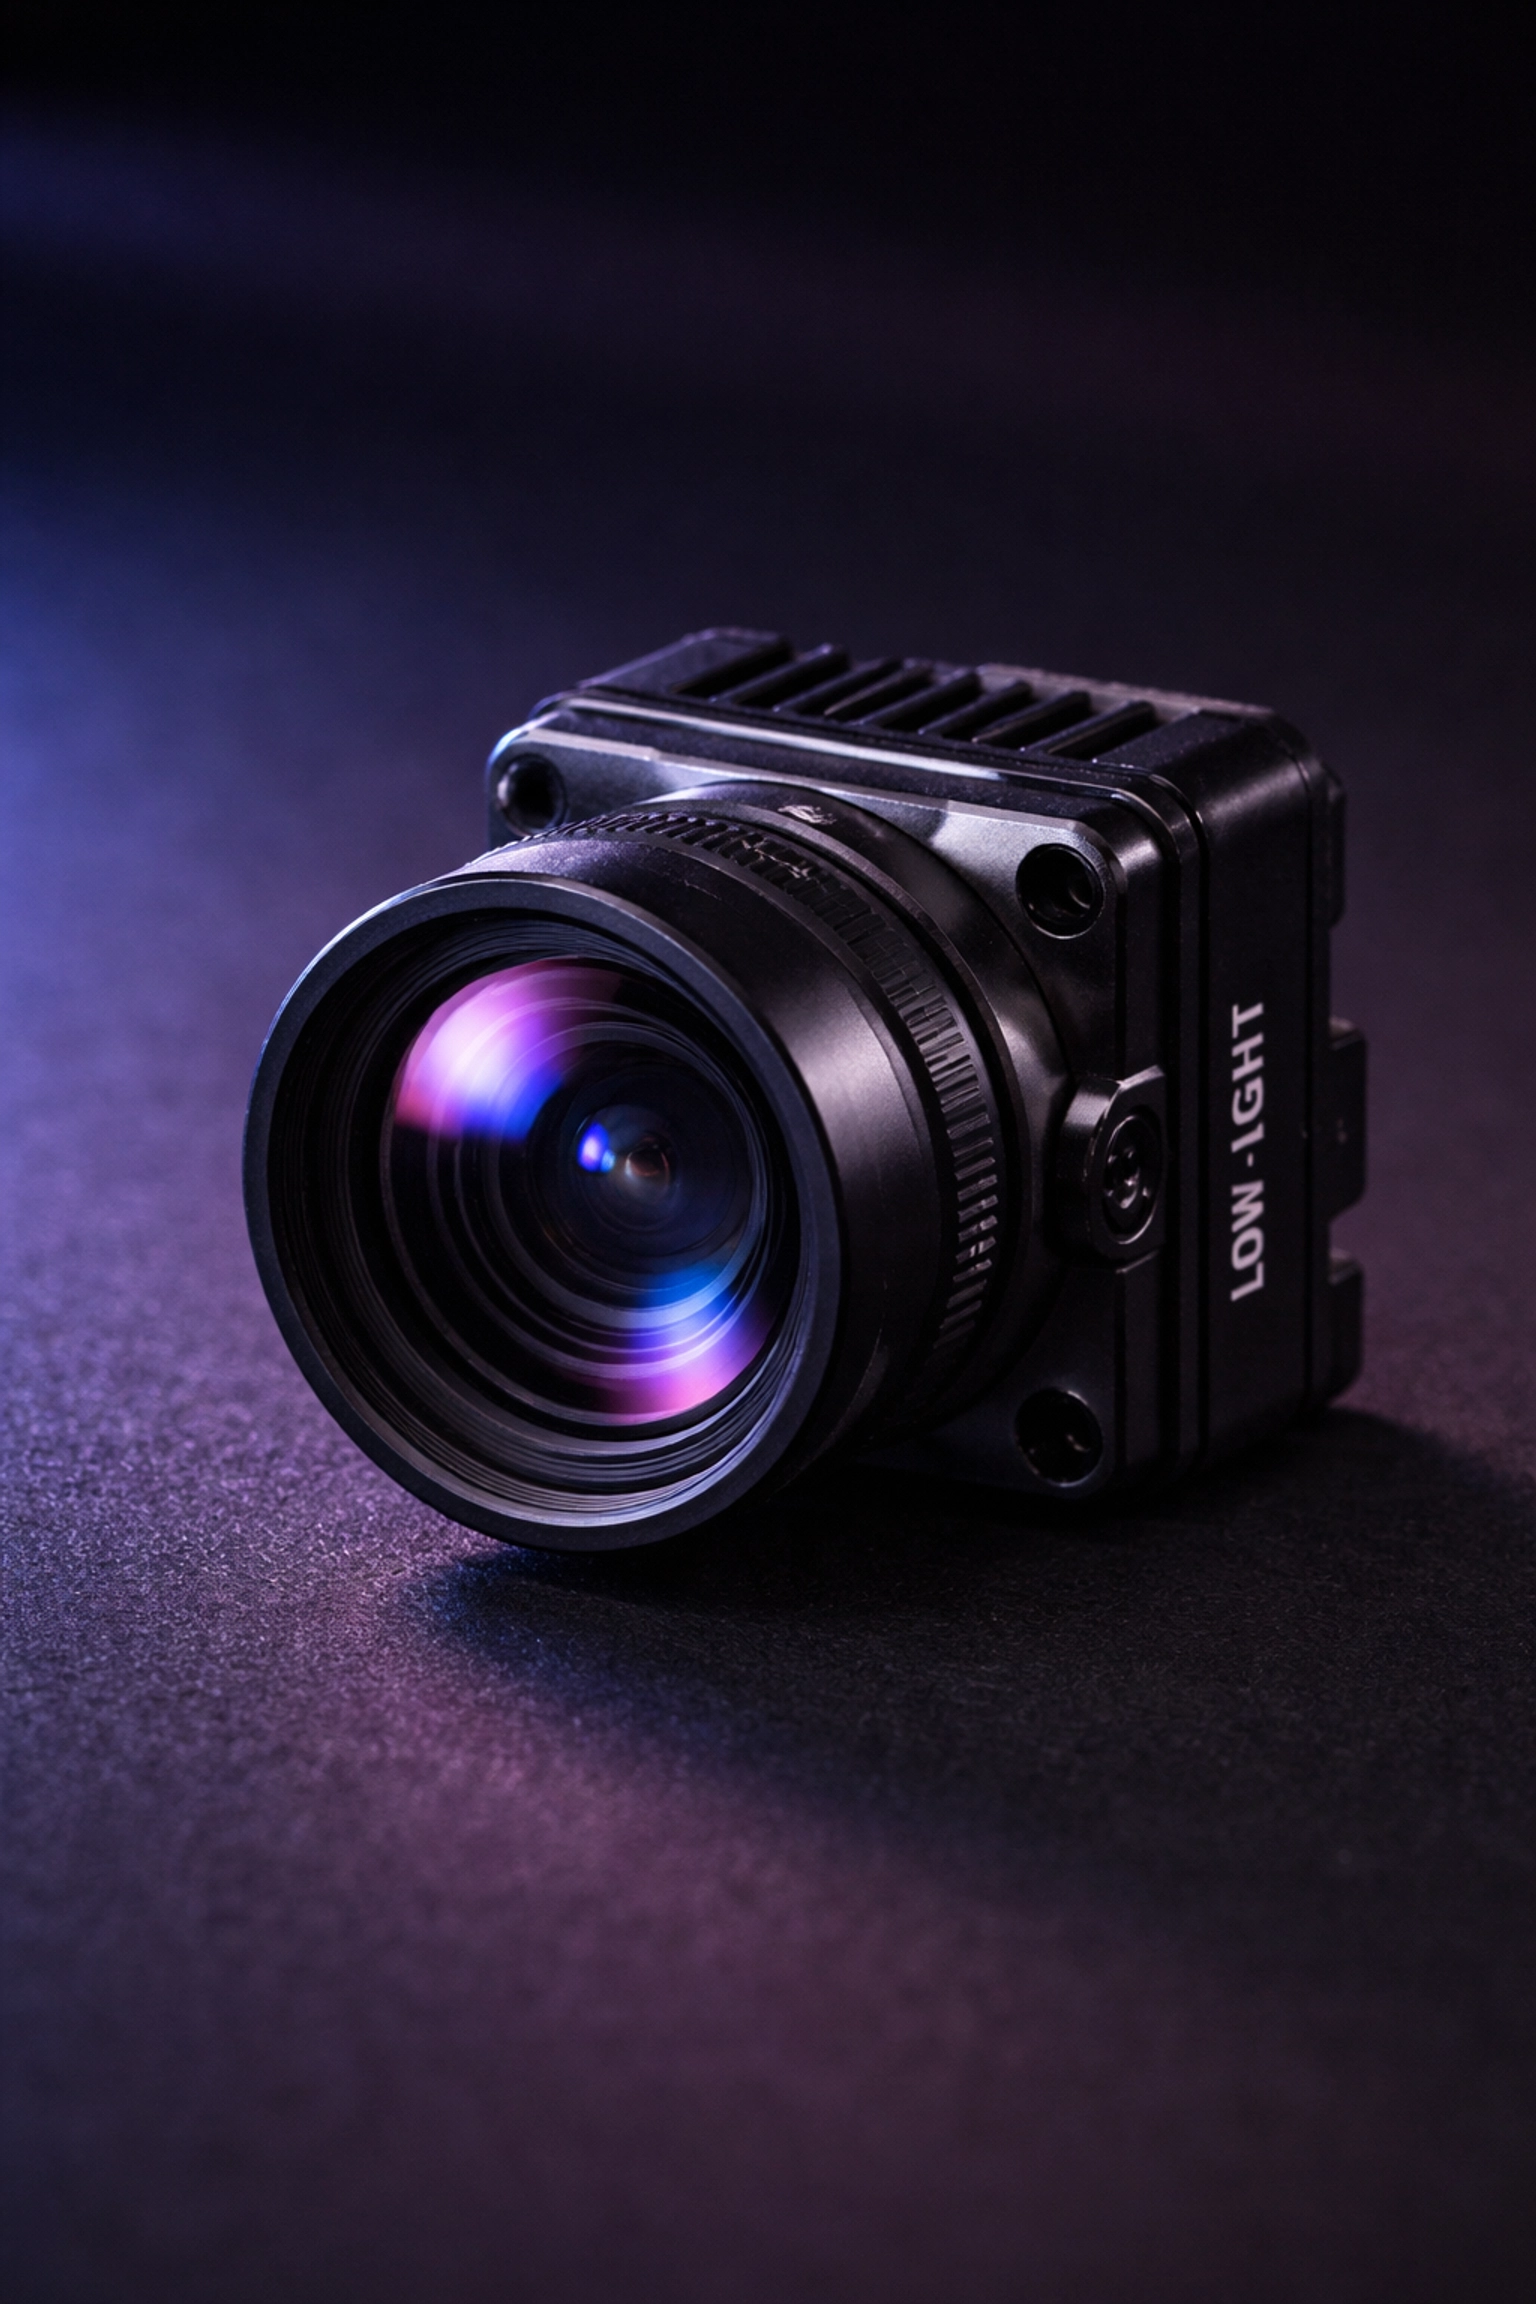
For serious low-light work, look for:
- f/2.0 or wider apertures for maximum light gathering
- High sensitivity ratings (measured in lux, lower is better)
- Clean low-light processing (less smearing/noise reduction artifacts)
- Larger sensors when possible, as bigger sensors handle noise better
Specialized low-light options like the Owl-style cameras (popular in the FPV community) are designed to keep an image usable in scenes that would turn standard cams into grain. One caveat: these specialized cameras often have limited dynamic range. If you're shooting a scene with both dark areas and bright light sources (like streetlights), you may struggle to expose both properly. Plan your shots accordingly.
If you want to build the right video chain for night flights (camera + VTX + accessories that actually play nice together), browse our VTX + camera hardware here: TechInMotion360 VTX & Camera category.
Need help selecting and configuring the right camera system for your low-light work? Our Video Camera Systems support package can get you dialed in.
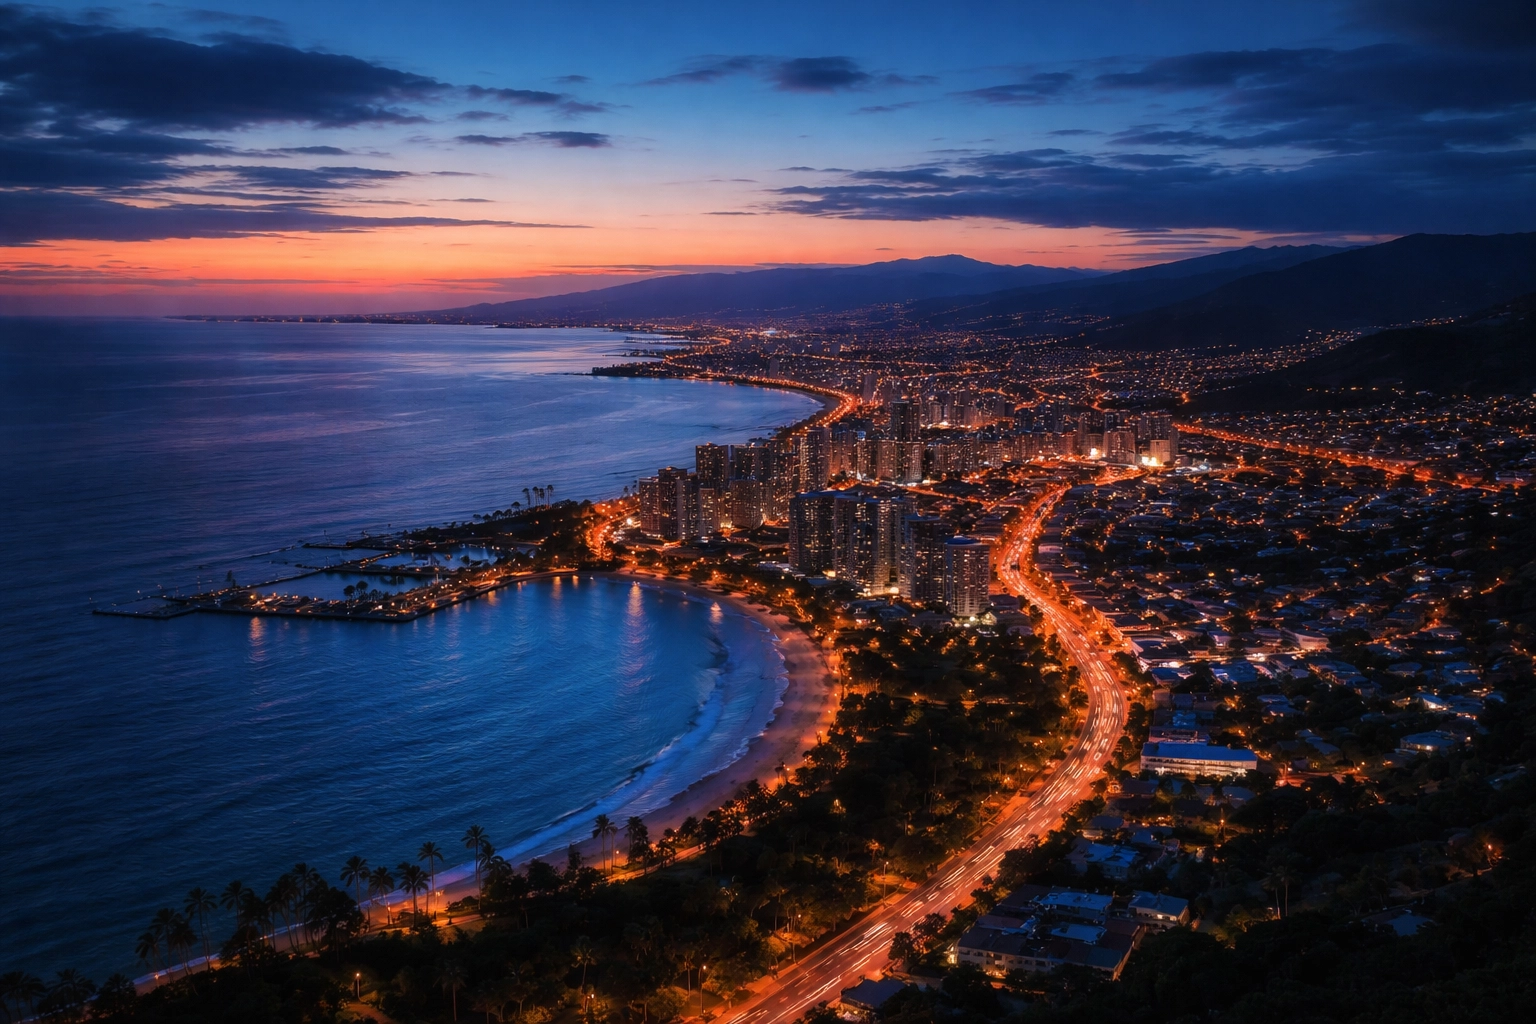
The Blue Hour Advantage
Here's a pro tip that separates amateurs from professionals: you don't actually need to shoot in complete darkness to create stunning "night" footage.
Blue hour, that magical window immediately after sunset when the sun dips below the horizon, offers the best of both worlds. There's enough ambient light to properly expose your image without cranking ISO into noise territory, but the natural blue hue of the sky creates that unmistakable nighttime aesthetic.
Your audience's brain reads "blue + city lights = night." You get the look without the technical nightmare of true darkness.
Plan your shoots around this window. It's typically 20-40 minutes long depending on your location and time of year. Scout your location during daylight, have your batteries charged and ready, and be in position before sunset so you can maximize every minute of usable light.
Strategic Supplementary Lighting
When blue hour isn't enough or you need to shoot in genuinely dark environments, supplementary lighting becomes essential.
Diffused lights (softboxes, LED tubes, or panels) work far better than harsh point sources. They cast fewer shadows and reduce the risk of blown-out footage if your drone happens to fly directly in front of a light.
Position lights strategically around your flight area to add texture and visual interest. Side lighting creates depth and dimension. Backlighting can produce stunning silhouettes. Experiment during your scout to find angles that enhance your subject.
Infrared lighting opens up another possibility for truly dark environments. IR LEDs emit light invisible to the human eye but detectable by digital camera sensors. This maintains the stealth aspect of night flying while providing your camera with enough illumination to reduce noise from excessive digital amplification.
White Balance and Color: Setting the Mood
Auto white balance is your enemy in low-light cinematography. It shifts constantly as your drone moves through areas with different light sources, creating inconsistent footage that's a nightmare to color grade.
Lock your white balance manually before each shoot. For convincing nighttime aesthetics, set a lower color temperature around 4000K. This introduces those blue tones viewers instinctively associate with night scenes.
Shoot in a flat color profile whenever possible. Yes, the footage looks washed out straight from the camera, but you're preserving maximum dynamic range and color information for post-production. You can always add contrast and saturation later: you can't recover detail that was crushed in-camera.
Post-Production: Your Safety Net
Even with perfect technique, low-light footage benefits from thoughtful post-processing.
Noise reduction tools in modern editing software (DaVinci Resolve, Premiere Pro, Final Cut) can work wonders on mild grain. Just don't overdo it: aggressive noise reduction creates that waxy, artificial look that's arguably worse than the noise itself.
Color grading lets you enhance the mood you established in-camera. Push those blue shadows, add warmth to practical light sources, and create separation between your subject and background.
If you're struggling with footage that didn't turn out as planned, our Advanced Support package includes troubleshooting for camera and video issues.
Putting It All Together (How to Shoot Drone Video at Night)
How to shoot drone video at night isn't about finding one magic setting—it’s about understanding how all the pieces interact and making informed trade-offs based on your specific shooting conditions.
Start with the lowest practical frame rate. Keep ISO under 400 whenever possible. Choose cameras with wide apertures and high sensitivity ratings. Shoot during blue hour when you can. Add supplementary lighting when you can't. Lock your white balance. Shoot flat. And give yourself grace in post.
Master these techniques, and you'll unlock an entire world of cinematic possibilities that most pilots never touch. The night is calling( go capture something beautiful.)
Leave a comment