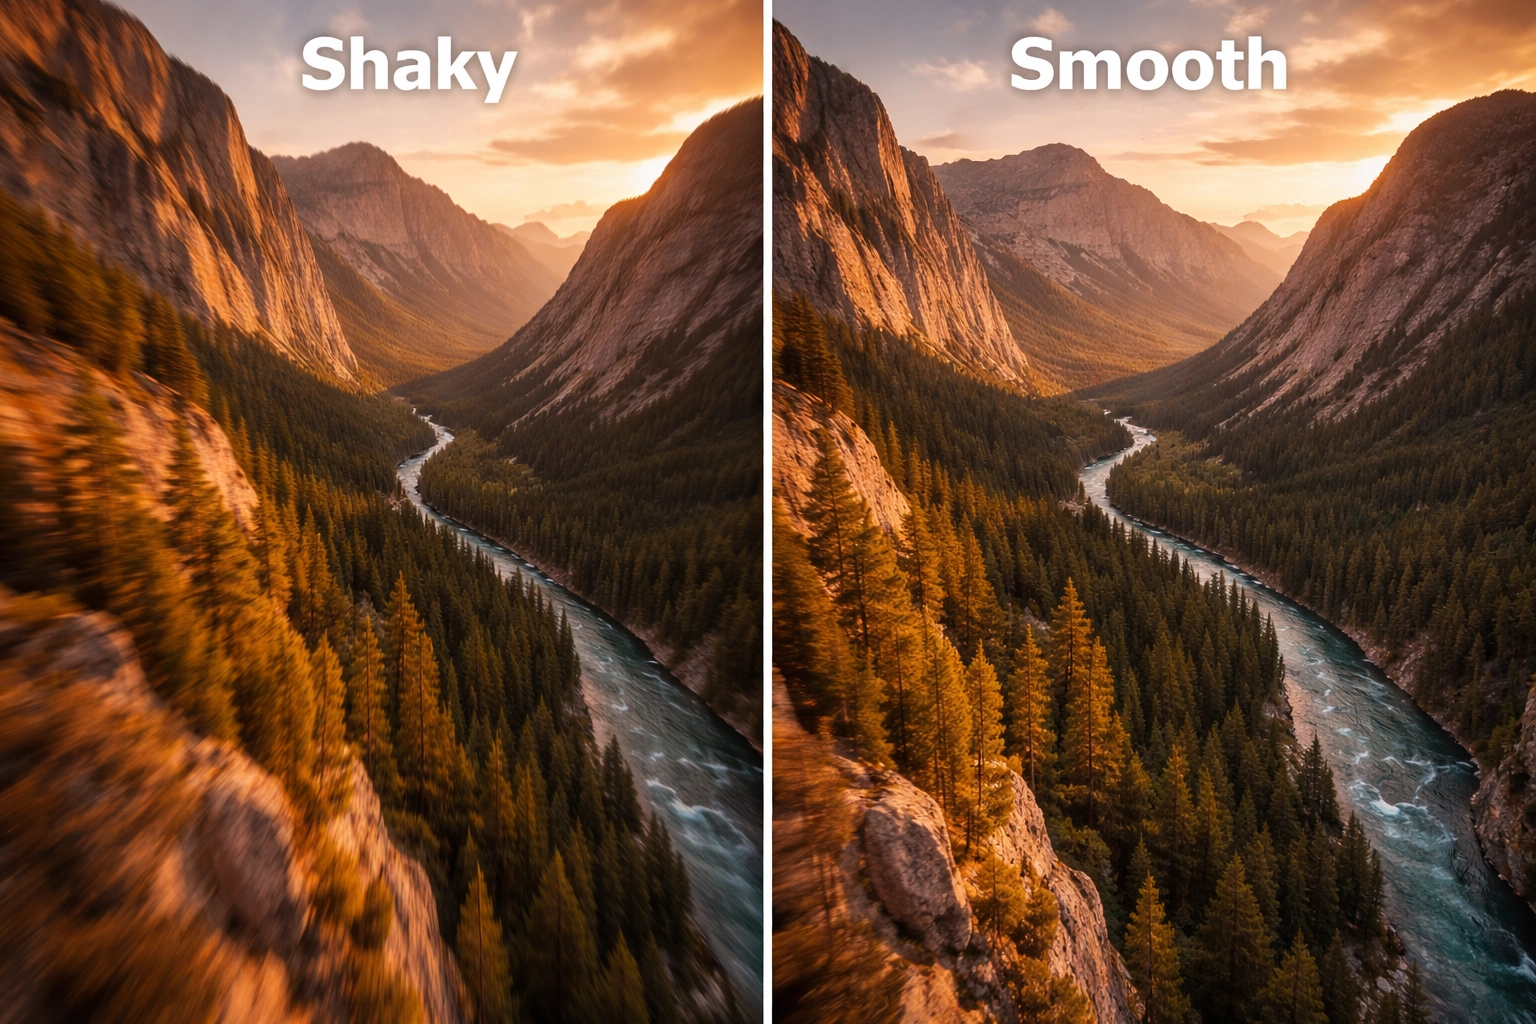
You just landed the most epic dive of your FPV career. The gap was tight, the proximity was perfect, and you're already imagining the edit. Then you pop the SD card into your computer, scrub through the footage, and… it looks like you filmed it during an earthquake.
Sound familiar?
Here's the thing: raw FPV footage is almost always shaky. That's just the nature of strapping a camera to a quad that's constantly fighting physics. But the cinematic creators you admire? They're not flying smoother than you. They're using Gyroflow: and once you learn this tool, your footage will never look the same.
Let's break down exactly how to take your jittery O4 and O3 clips and transform them into buttery smooth cinematic gold.
What Is Gyroflow and Why Does It Matter?
Gyroflow is free, open-source stabilization software that works differently from anything you've used before. While tools like Premiere's Warp Stabilizer or ReelSteady analyze the visual frames of your video to guess how the camera moved, Gyroflow takes a completely different approach.
It uses gyroscope motion data (also called IMU data) that your camera actually recorded during the flight. Your DJI O3 and O4 cameras are constantly logging exactly how they tilted, rotated, and vibrated: thousands of times per second. Gyroflow reads that data and knows precisely how to counteract each movement.
The result? Stabilization that handles fast motions, quick flips, and aggressive proximity flying without the weird warping artifacts you get from optical stabilization. It's not guessing. It knows.
What You Need to Get Started
Before we dive into the workflow, let's make sure you have everything lined up:
Hardware Requirements:
- A Gyroflow-compatible camera (DJI O3 Air Unit, O4, GoPro with gyro logging enabled, RunCam, Insta360 GO series, etc.)
- A computer that can handle video processing (GPU acceleration helps significantly)
Software Requirements:
- Gyroflow (free download from gyroflow.xyz)
- Your camera's companion software for extracting gyro data (if needed)
Files You'll Need:
- Your raw video file (.mp4)
- The corresponding gyro data file (often embedded in the video or exported separately)
The good news? If you're shooting on the O3 or O4, the gyro data is already baked into your video files. Gyroflow can extract it automatically. No extra steps required.
If you're still dialing in your camera settings before you even get to post-processing, check out our guide on FPV camera settings for cinematic footage to make sure you're capturing the best possible raw material.
The Four-Step Gyroflow Workflow
Let's walk through the actual process from start to finish. It's simpler than you might think.
Step 1: Import Your Footage
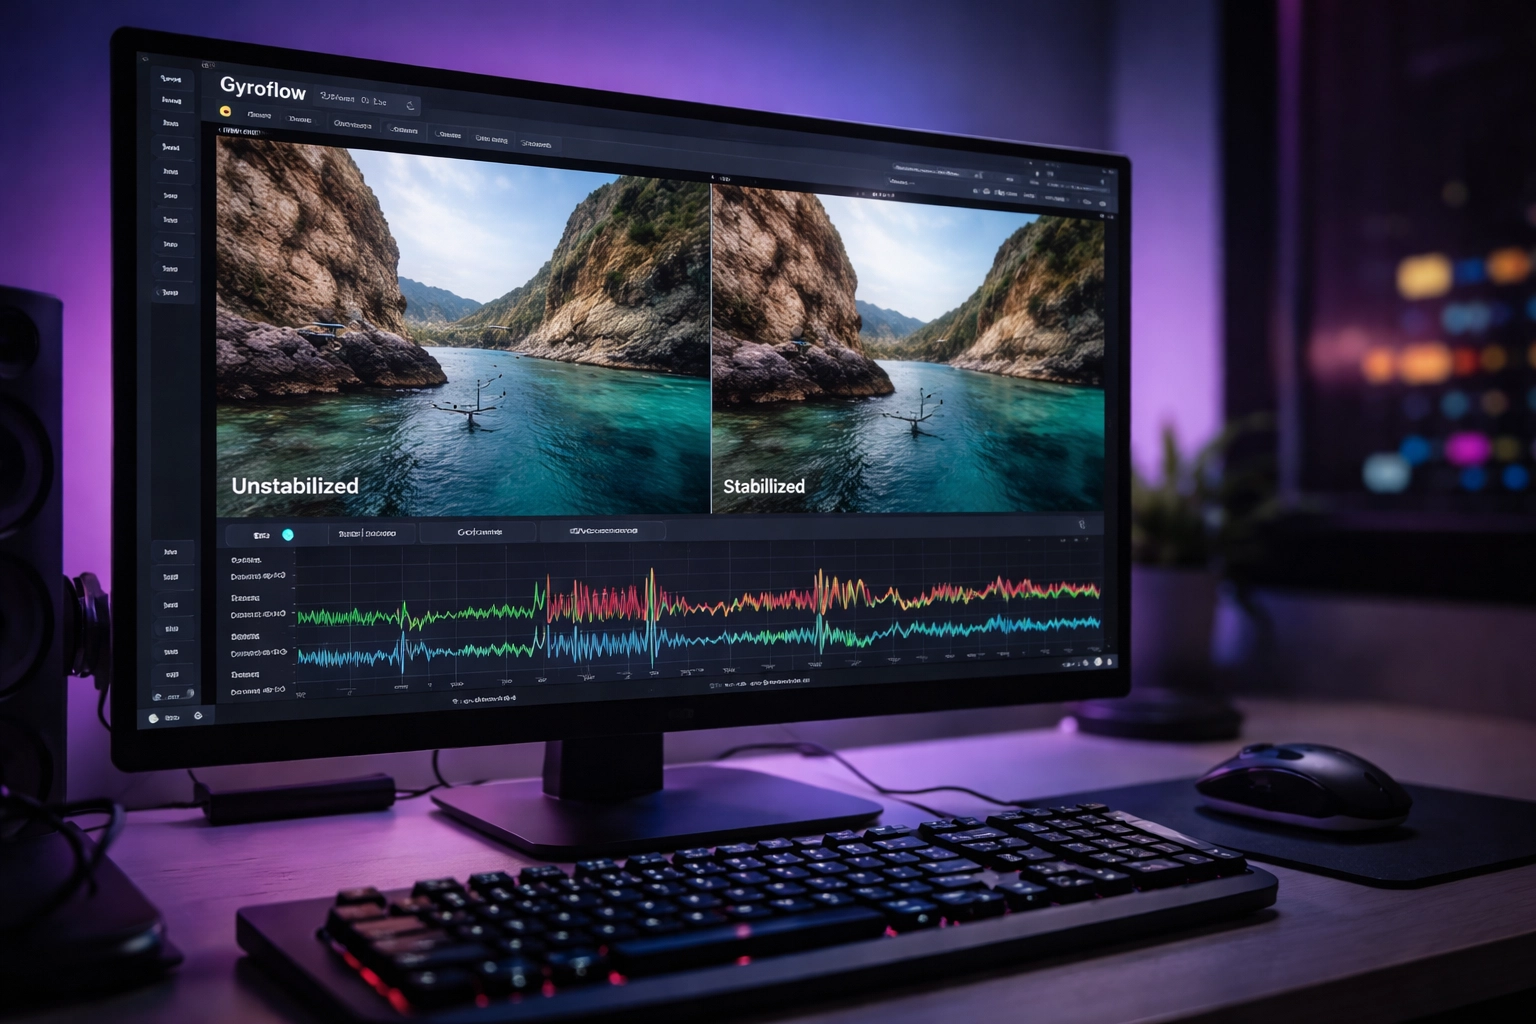
Open Gyroflow and drag your video file into the interface. If you're using O3 or O4 footage, Gyroflow will automatically detect and extract the embedded gyro data. You'll see the motion graph populate with all that delicious IMU information.
If you're using a camera that exports gyro data separately (like some GoPro setups), you'll need to import that file as well and let Gyroflow sync them together.
Step 2: Set Your Lens Profile
This is where a lot of beginners trip up. Gyroflow needs to know exactly which lens captured your footage so it can accurately calculate the distortion and FOV corrections.
Select your camera and lens from the built-in library. For DJI cameras, the profiles are usually spot-on. If you're using third-party lenses or a less common setup, you might need to calibrate a custom lens profile: but that's an advanced topic for another day.
Step 3: Sync and Preview
Hit the "Auto Sync" button and let Gyroflow work its magic. It will analyze the gyro data and align it with your video frames. You'll see sync points appear on your timeline: these are the moments where Gyroflow has locked in the relationship between motion data and visual frames.
Pro tip: For most FPV footage, 5 sync points is the sweet spot. More isn't always better and can sometimes introduce inconsistencies.
Once synced, hit play and watch your footage transform in real-time. That shaky mess? Now it's floating through the air like a dream.
Step 4: Export Your Stabilized Video
When you're happy with the preview, set your export settings and render it out. I recommend exporting at the same resolution as your source file (or higher if you recorded at 4K for a 2.7K final output) to maintain maximum quality.
Dialing In Your Settings: The Numbers That Matter
Here's where we get into the real sauce. These settings will make or break your final result.
Smoothness
This slider controls how aggressively Gyroflow stabilizes your footage. Higher values = smoother footage, but also more cropping (the software has to zoom in to hide the edges).
For stable cruising footage: 10-20% smoothness works great
For aggressive freestyle or proximity: 25-35% smoothness
For extremely shaky clips: 40%+ (but expect significant crop)
Start low and increase until the shake disappears. Don't go higher than necessary: you want to preserve as much of your original framing as possible.
FOV (Field of View)
This determines how much of your original frame remains visible after stabilization. Gyroflow will show red warnings on your timeline if you're pushing the FOV too high and clipping the edges.
Starting point: Set FOV to 1 (automatic) with zoom speed around 2 seconds. This lets Gyroflow dynamically adjust throughout the clip.
Increase FOV as high as you can without triggering those red warnings. You want maximum coverage without visible edge artifacts.
Stabilization Mode
Gyroflow offers several stabilization algorithms:
- Default: Works well for 90% of FPV footage
- Plain 3D: Creates a different aesthetic, can be useful for specific creative looks
- Centered: Keeps the horizon more locked, great for real estate or inspection footage
Stick with Default until you have a specific reason to experiment with the others.
Recording Tips for Better Gyroflow Results
Garbage in, garbage out. If you want the best possible stabilization, start with the best possible source material.
Record at higher resolution than your final output. Shooting 4K for a 2.7K final gives you more room for Gyroflow to crop and stabilize without losing quality. Same logic applies to 2.7K source for 1080p delivery.
Use your camera's native aspect ratio. Don't crop in-camera. Let Gyroflow handle all the framing adjustments in post.
Ensure clean gyro data. If your camera has vibration issues or loose mounting, your gyro data will be noisy and Gyroflow will struggle. Proper mounting and motor balance matter: if you need help dialing in your video systems, our camera systems support package can get you sorted.
Advanced Technique: Keyframing for Professional Results
Once you've mastered the basics, Gyroflow's keyframing feature opens up a whole new level of control.
Keyframing lets you make specific adjustments at different points in your footage. Flying through a tight gap where you had to bank hard? Add a keyframe to temporarily increase zoom during that section so the stabilization looks more natural.
It's labor-intensive: you're essentially hand-crafting the stabilization frame by frame: but for client work or portfolio pieces, keyframing is the difference between "good" and "holy crap, that's smooth."
Common Gyroflow Problems (And Quick Fixes)
Footage still looks shaky after processing:
Your sync points might be off. Try deleting them and running Auto Sync again. If that doesn't work, manually place sync points at moments with distinct visual and motion events.
Weird warping or jello effect:
This usually means your lens profile is wrong or your gyro data is corrupted. Double-check your camera selection and try a different clip to rule out hardware issues.
Export takes forever:
Enable GPU acceleration in Gyroflow's settings. If you're on older hardware, consider exporting at a lower bitrate for your initial review passes.
If you're running into persistent issues that are eating up your editing time, we offer FPV Drone Support Packages for hands-on help configuring your gyro data workflow and software settings (plus troubleshooting when things just won’t sync). We also offer advanced troubleshooting support to help you diagnose and fix problems fast.
The Bottom Line
Gyroflow isn't just a nice-to-have: it's an essential tool for anyone serious about cinematic FPV content. The learning curve is gentle, the software is free, and the results speak for themselves.
Start with the basics: import, sync, adjust smoothness and FOV, export. Once you've got that workflow locked in, experiment with keyframing and different stabilization modes to develop your own signature look.
Your footage deserves better than jittery raw clips collecting dust on a hard drive. Fire up Gyroflow and let that buttery smoothness shine.


Leave a comment