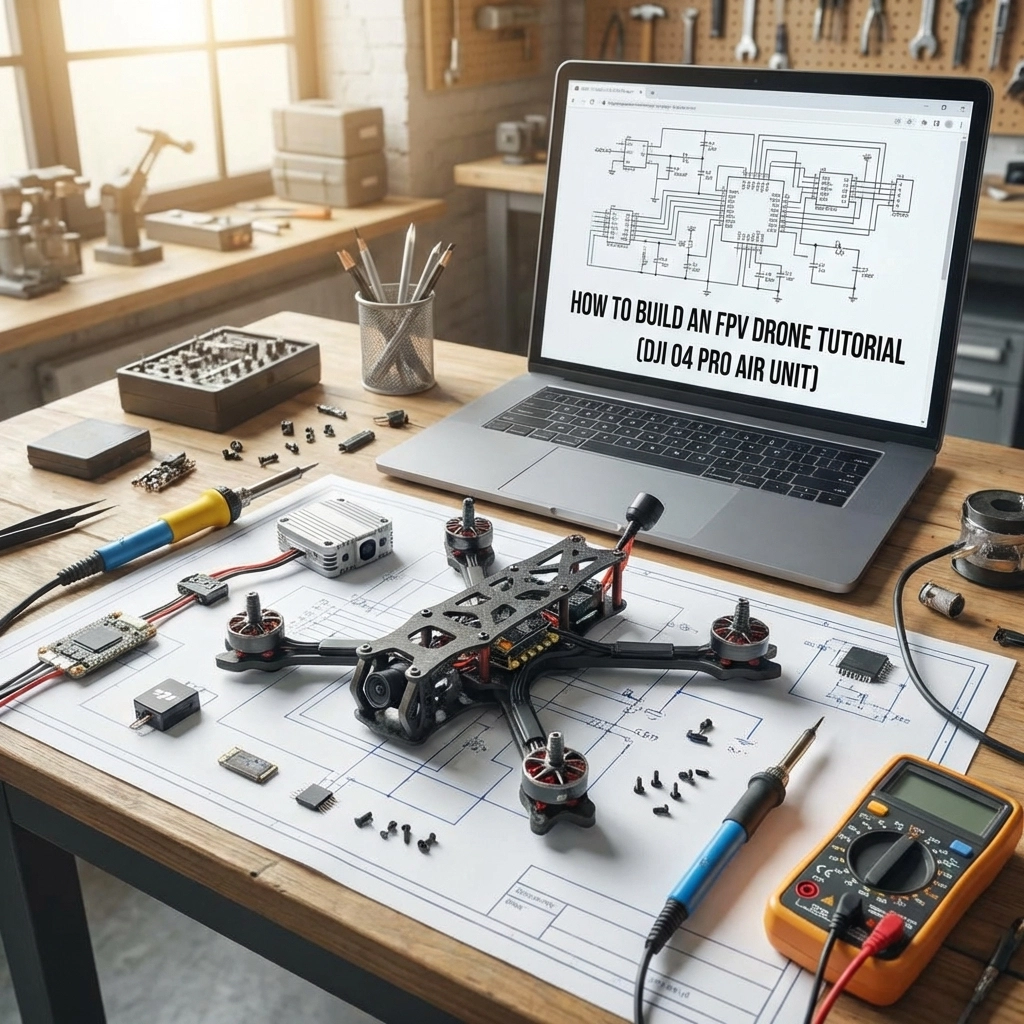
Building your own FPV drone is one of the most rewarding experiences in the hobby. When you combine a custom build with the DJI O4 Pro Air Unit, you get crystal-clear digital video transmission with the performance of a purpose-built racing or freestyle quad. This tutorial walks you through every step: from selecting parts to your first flight.
Table of Contents
- Can Beginners Build FPV Drones?
- Mastering the Basics
- Parts List
- Steps of Building FPV Drone
- Learning How to Fly
Can Beginners Build FPV Drones?
Absolutely. If you can follow instructions, handle a soldering iron, and exercise patience, you can build an FPV drone. The key is starting with quality components and taking your time. Many pilots assume building requires electrical engineering knowledge: it doesn’t. What it requires is attention to detail and a willingness to learn.
That said, mistakes happen. Wires get crossed, motors spin the wrong direction, and configurations get scrambled. If you ever feel stuck, TechInMotion360’s troubleshooting support packages can help you diagnose and fix issues remotely.
Mastering the Basics
Before diving into the build, understand what each component does:
- Frame: The skeleton holding everything together
- Flight Controller (FC): The brain processing inputs and stabilizing flight
- Electronic Speed Controller (ESC): Regulates power to each motor
- Motors: Generate thrust via propellers
- FPV System: Camera and video transmitter for real-time video
- Radio Receiver: Receives commands from your transmitter
Once you understand how these parts interact, the build process makes much more sense.
Parts List
Frame
For this build, we recommend a 5-inch freestyle or racing frame. Look for:
- Material: Carbon fiber (3K or higher weave)
- Arm thickness: 5mm minimum for durability
- Stack mounting: 30.5×30.5mm standard pattern
- Weight: Under 120g for the frame alone
Popular choices include the ImpulseRC Apex, TBS Source One, or Armattan frames with lifetime warranties.
FC and ESC
Your flight controller and ESC can come as separate components or an all-in-one (AIO) stack. For DJI O4 Pro builds, ensure your FC has:
- F7 or H7 processor for smooth performance
- DJI SBUS pad for O4 control integration
- Betaflight compatibility
- Current sensor for battery monitoring
For ESCs, a 4-in-1 unit rated at 45A-60A continuous handles most 5-inch builds comfortably.
Motors
Motor selection depends on your flying style:
| Flying Style | Motor Size | KV Rating |
|---|---|---|
| Freestyle | 2306-2407 | 1750-1950KV |
| Racing | 2207-2306 | 2400-2750KV |
| Cinematic | 2806-2812 | 1300-1500KV |
Note: KV ratings should match your battery voltage. Higher KV = more RPM but less torque.
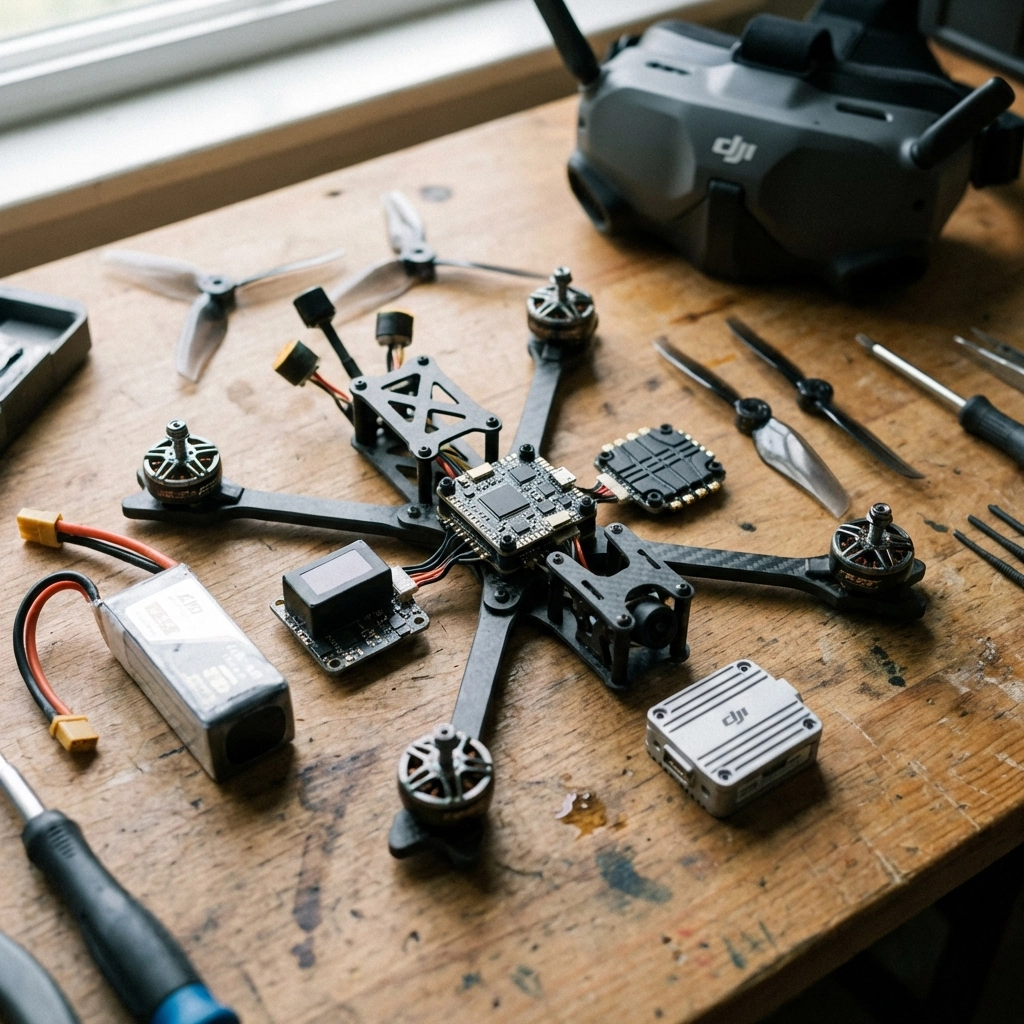
FPV Setup
The star of this build: the DJI O4 Pro Air Unit: delivers exceptional video quality with low latency. You’ll need:
- DJI O4 Pro Air Unit
- Compatible DJI Goggles (Goggles 3 or Integra)
- DJI antenna kit
- Camera mounting hardware
The O4 Pro integrates directly with Betaflight, making setup straightforward compared to earlier DJI systems.
Radio Receiver
Any ExpressLRS (ELRS) or TBS Crossfire receiver works great. ELRS has become the community standard for its range, low latency, and open-source development. Make sure your receiver matches your radio transmitter protocol.
Other Equipment
- LiPo batteries: 6S 1100-1300mAh for racing, 1300-1550mAh for freestyle
- Propellers: 5-inch tri-blade (51466 or 5143)
- Battery straps: 20mm width with rubberized grip
- Antenna mounts: 3D printed or TPU for protection
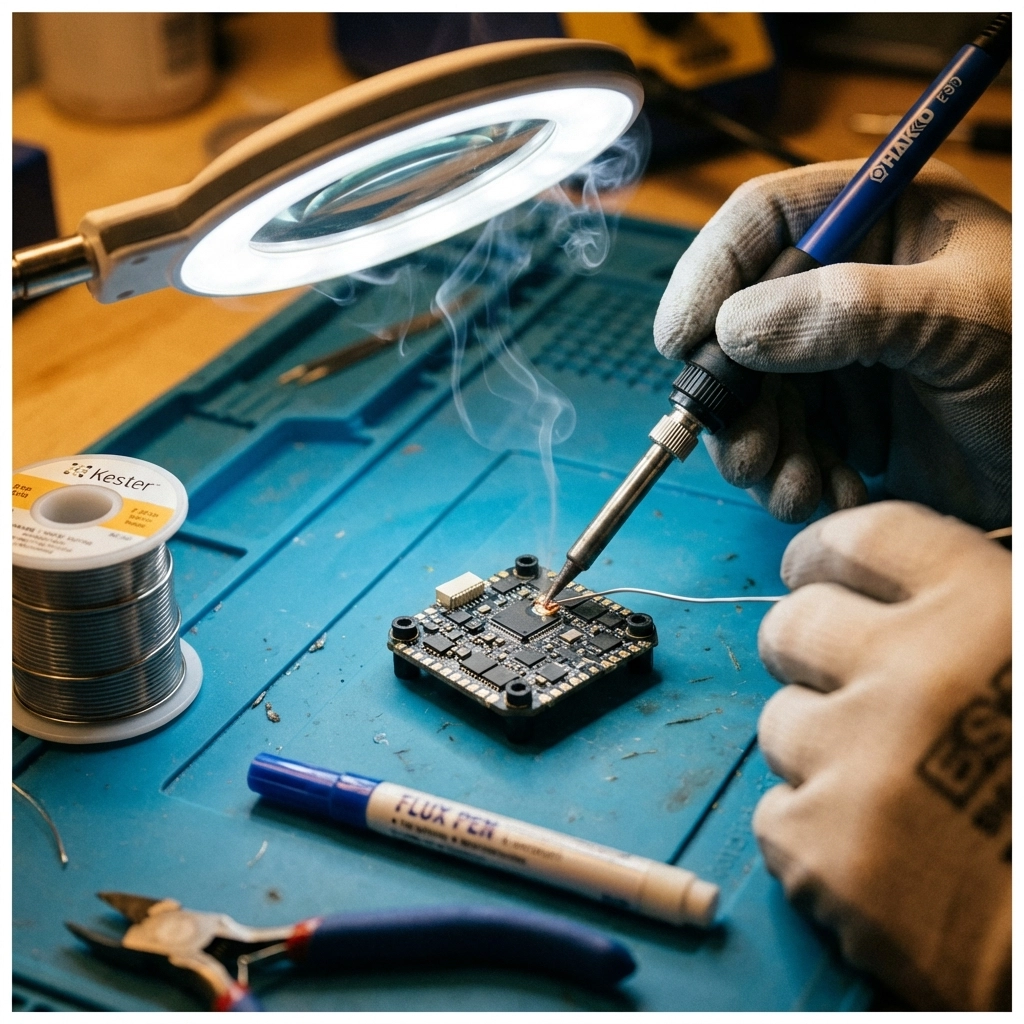
Tools and Supplies
Gather these before starting:
- Soldering iron (60W minimum with fine tip)
- Lead-free solder (60/40 or 63/37)
- Flux pen
- Heat shrink tubing (various sizes)
- Hex drivers (1.5mm, 2mm, 2.5mm)
- Wire strippers
- Multimeter
- Double-sided foam tape
- Zip ties
- Electrical tape
Steps of Building FPV Drone
1. Frame Assembly
Start by laying out all frame pieces. Most frames include a bottom plate, top plate, arms, and standoffs. Loosely assemble everything first to understand the structure, then tighten in stages. Don’t fully torque screws until all components are positioned.
2. Installing Motors
Mount motors to each arm using the provided screws. Ensure screws aren’t too long: penetrating the motor windings destroys the motor. Apply thread locker to prevent vibration loosening. Motor wire orientation matters: route wires toward the center where they’ll connect to the ESC.
3. Wiring Diagrams
Before soldering anything, sketch your wiring diagram:
- Battery lead → ESC power pads
- ESC signal wires → FC motor outputs (M1-M4)
- Receiver → FC SBUS/UART pad
- DJI O4 Pro → FC designated DJI pads (TX/RX and power)
Reference your specific FC’s pinout diagram: they vary between manufacturers.
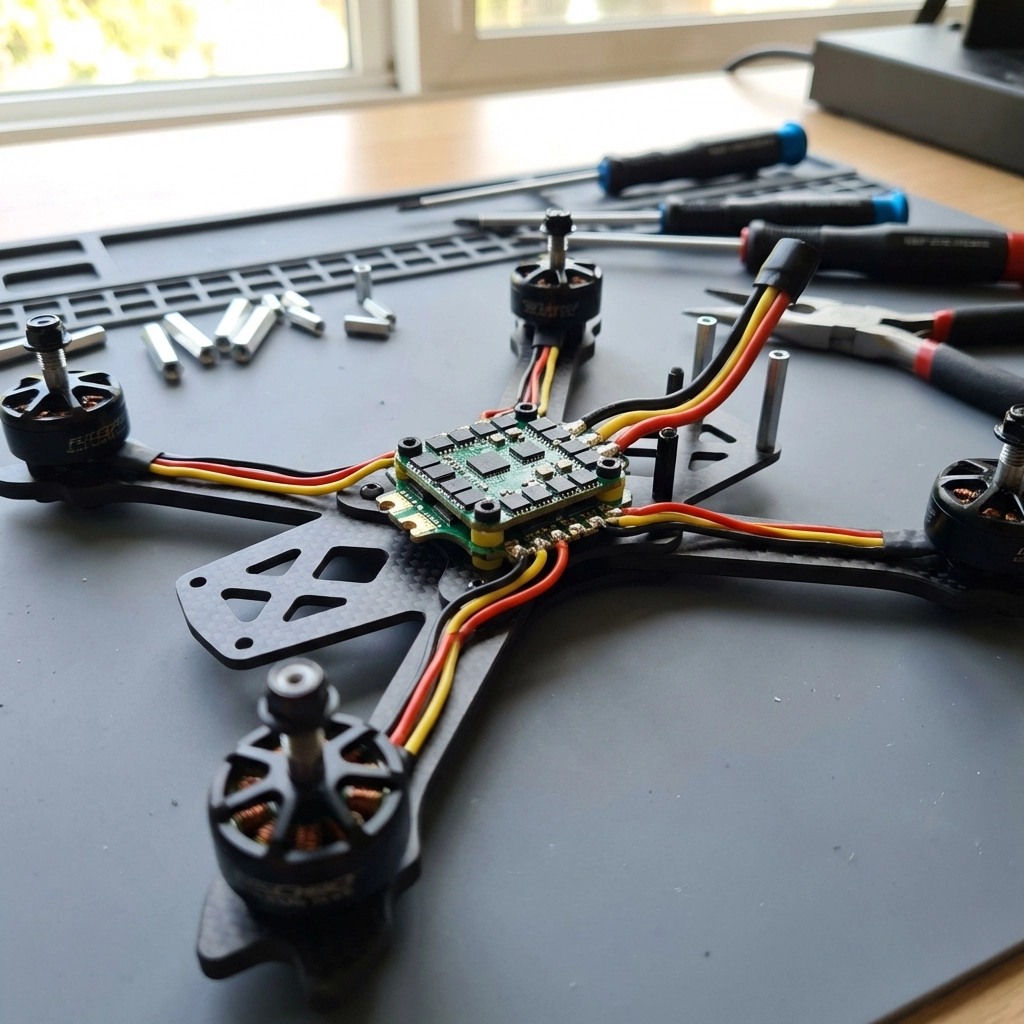
4. Installing ESC
Mount the ESC to the frame using standoffs or soft-mounting grommets. Solder motor wires to the ESC: each motor connects to its designated output. Triple-check polarity on power connections.
5. Testing ESC and Motors
Before proceeding further, test your ESC and motors:
- Connect battery (props OFF)
- Verify ESC powers up (LED indication)
- Use Betaflight motor tab to spin each motor individually
- Confirm correct rotation direction
If motors spin wrong, swap any two of the three motor wires or reverse direction in BLHeli configurator.
6. Receiver Setup
Mount your receiver away from power wires to reduce interference. Solder the receiver to the appropriate UART on your FC. Bind the receiver to your transmitter following the manufacturer’s binding procedure.
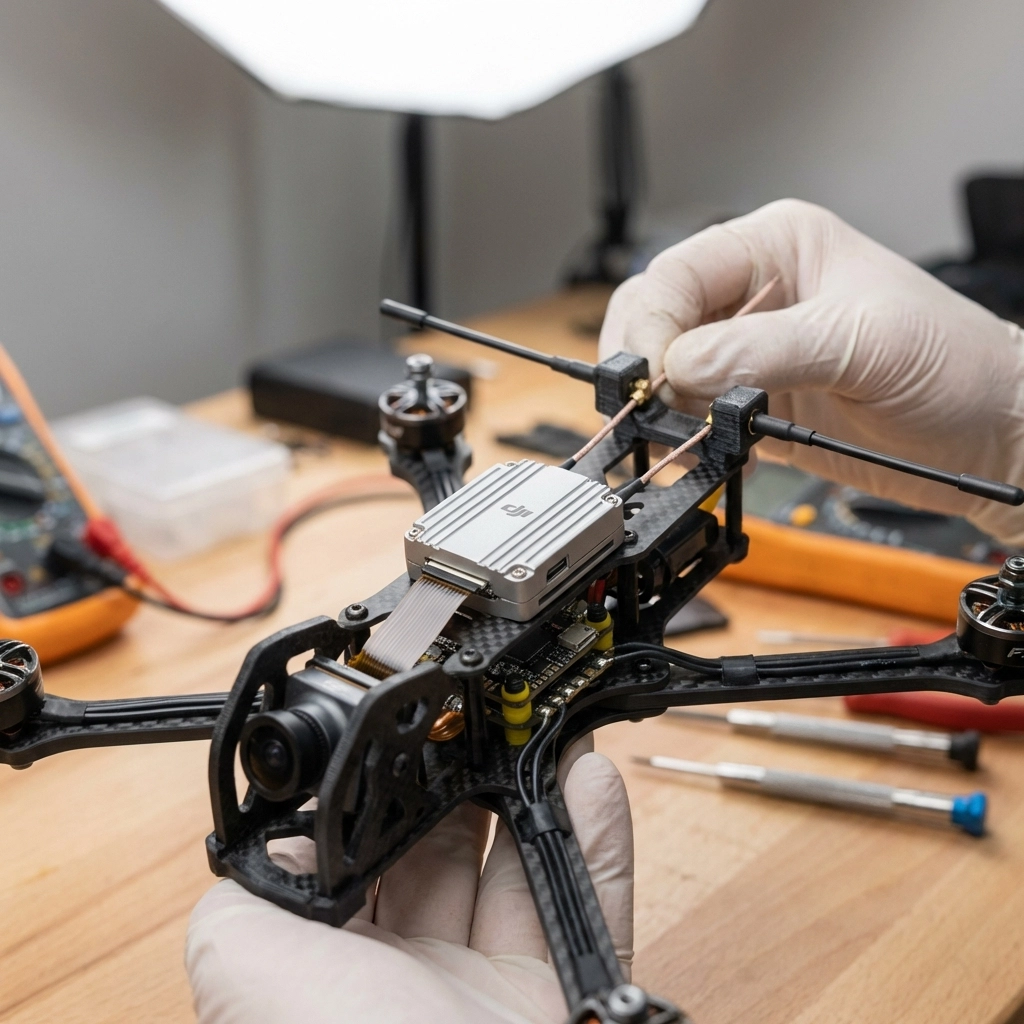
7. Installing DJI O4 Pro
The O4 Pro requires:
- 9V-26V power (direct from battery or regulated)
- UART connection for Betaflight MSP
- Secure mounting to prevent vibration damage
Route the antenna cables carefully: avoid sharp bends. Mount antennas at 90-degree angles to each other for optimal signal reception. The camera connects via ribbon cable to the air unit.
If you need help with video system installation, check out TechInMotion360’s Video Camera Systems upgrade package.
8. Finishing Off
With all electronics installed:
- Secure loose wires with zip ties
- Apply conformal coating to exposed solder joints
- Install the top plate
- Mount antennas in protective holders
- Double-check all connections
9. Setting Up Betaflight
Connect your FC to Betaflight Configurator via USB:
- Ports tab: Enable MSP on the DJI UART, Serial RX on receiver UART
- Configuration tab: Set receiver mode (SBUS/CRSF), enable DJI OSD
- Receiver tab: Verify channel mapping and stick inputs
- Modes tab: Assign arm switch, flight modes, beeper
- OSD tab: Configure on-screen display elements
Save and reboot after each major change.
10. Tuning
Stock Betaflight PIDs fly most builds reasonably well. For optimization:
- Start with Betaflight’s recommended presets for your frame size
- Use the slider-based tuning for safe adjustments
- Enable RPM filtering if your ESC supports bidirectional DShot
- Adjust rates to match your flying style
For advanced performance tuning, TechInMotion360’s Performance Tune & Troubleshoot package offers expert remote assistance.
Learning How to Fly
Your drone is built: now comes the real challenge. Recommendations for new pilots:
- Start in a simulator: Velocidrone, Liftoff, or DRL Simulator build muscle memory risk-free
- Find open spaces: Large fields away from people and obstacles
- Begin in Angle mode: Self-leveling helps while learning throttle control
- Progress to Acro mode: This is true FPV flying: full manual control
- Join a community: Local flying groups accelerate learning dramatically
Building your own FPV drone with the DJI O4 Pro creates a machine perfectly tailored to your preferences. When something breaks (and it will), you’ll know exactly how to fix it. That knowledge transforms you from a pilot into a true FPV enthusiast.
Need ongoing support as you progress? Consider TechInMotion360’s Annual Remote Support Plan for year-round expert guidance.
Happy building: and happy flying! 🚁
Leave a comment