
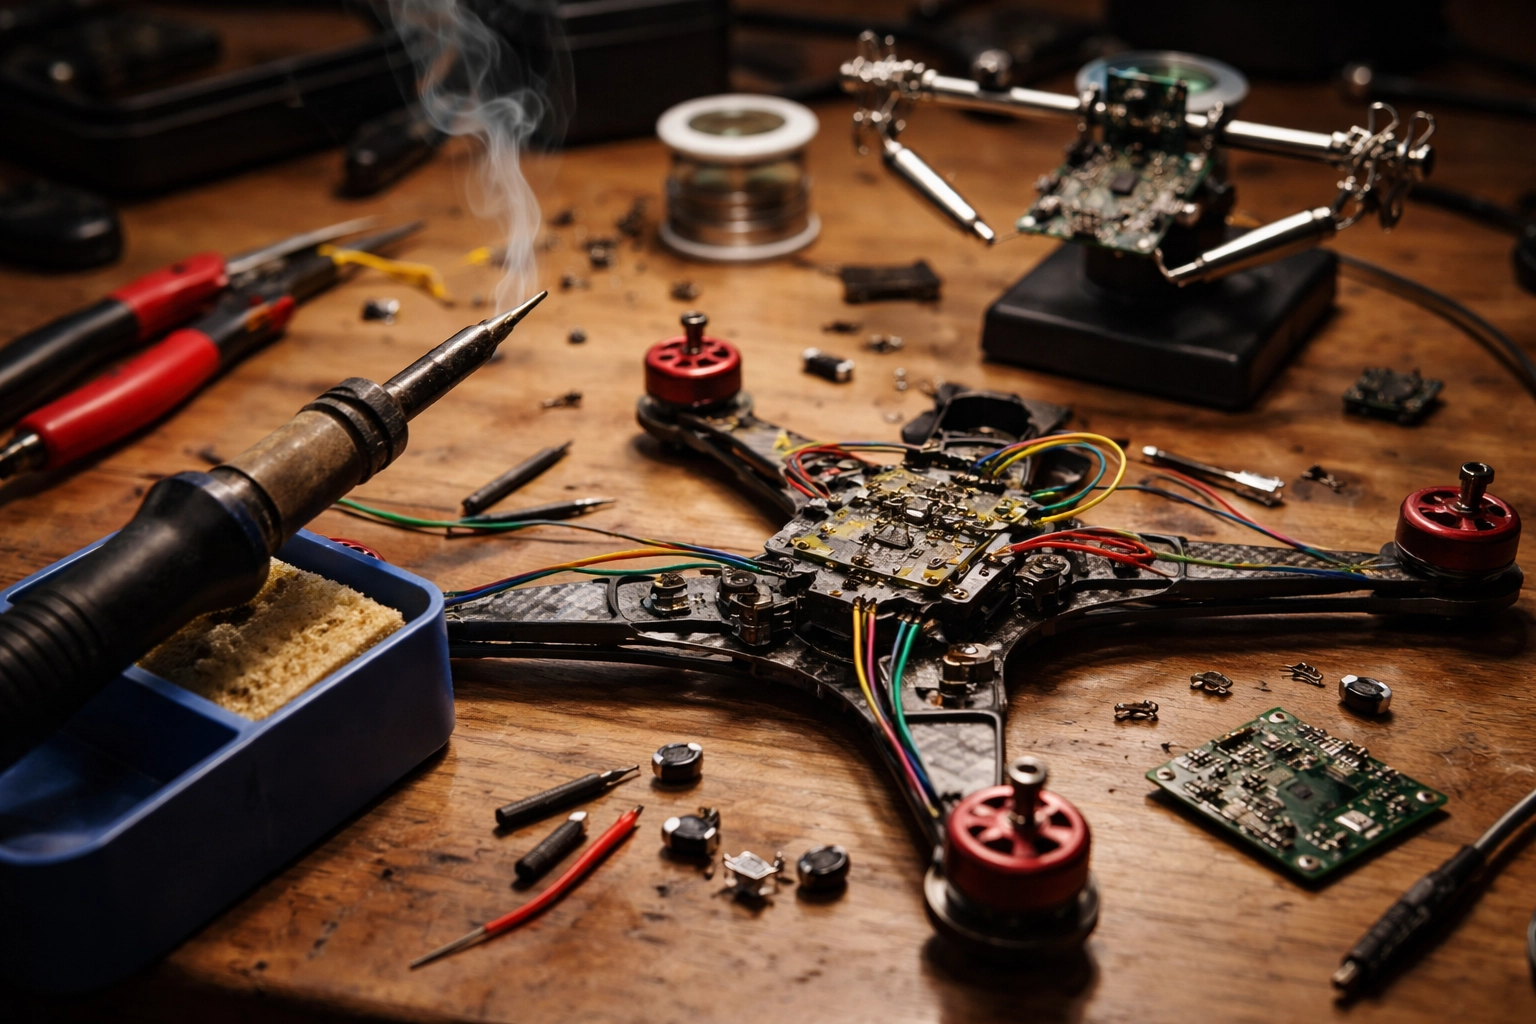
Let's be real for a second. If you've been flying FPV drones for any length of time, you've probably stared at a broken wire or a detached motor lead and thought, "Well, guess I need a whole new quad." But here's the thing, most of those repairs are totally fixable with a skill that looks way scarier than it actually is: soldering.
I get it. The first time you pick up a soldering iron, it feels like you're about to perform surgery on your favorite piece of tech. Your hands might shake a little. You might wonder if you're going to melt something important. But here's the truth that experienced pilots won't always tell you: soldering is a learnable skill, and once you've got it down, you'll save hundreds of dollars and hours of downtime waiting for replacement parts.
So let's break this down together. By the end of this guide, you'll have the confidence to tackle basic FPV repairs, and you'll know exactly when it makes sense to call in the pros.
Why Every FPV Pilot Should Learn to Solder
FPV drones crash. It's not a matter of if, it's when. And when they do, connections come loose, wires fray, and components need replacing. If you can't solder, every minor repair becomes a major expense or a trip to someone else's workbench.
Learning to solder means you can:
- Swap out motors when you burn one up pushing too hard
- Replace ESCs after a particularly gnarly crash
- Repair broken camera connections instead of buying new gear
- Customize your build with upgraded components whenever you want
It's one of those skills that pays for itself after just a couple of repairs. Plus, there's something deeply satisfying about fixing your own gear and getting back in the air the same day.
Gathering Your Soldering Toolkit (and Where to Get the Right Bits)
Before you heat anything up, let's talk gear. You don't need to spend a fortune, but investing in quality basics will make your life significantly easier.
If you need wires, connectors, pigtails, heat shrink, and the little “why is this always missing?” items, grab them from our FPV parts category here: FPV Parts (Wires + Connectors). That link is your fast lane to getting the exact stuff you’ll be soldering.
The essentials:
- Soldering iron with adjustable temperature – Cheap irons can't deliver consistent heat, which leads to cold joints and frustration. Look for something in the 60W range with interchangeable tips.
- Solder – Use 60/40 or 63/37 rosin core solder. The rosin core contains flux, which helps the solder flow properly.
- Flux – Even with rosin core solder, having extra flux paste or liquid makes a huge difference, especially on oxidized pads.
- Brass wire cleaner or wet sponge – Keeps your tip clean and shiny for proper heat transfer.
- Helping hands or a silicone mat – You need something to hold your work steady. Trust me, you don't have enough hands for this.
- Wire strippers and flush cutters – Clean cuts and properly stripped wires are half the battle.
- Safety glasses – Hot solder can spit. Protect your eyes.
Once you've got these basics, you're ready to start practicing.
Setting the Right Temperature
Here's where a lot of beginners mess up. Temperature matters, a lot.
Too cold, and your solder won't flow properly. You'll end up with dull, grainy "cold joints" that look terrible and fail under vibration. Too hot, and you risk lifting pads off the circuit board entirely, which can turn a simple repair into a complete replacement.
General guidelines:
- Small joints and signal wires: 350–390°C (around 650–730°F)
- Larger joints and power connections: 400–450°C (750–840°F)
- XT60 connectors and thick gauge wire: Bump it up to 450°C or slightly higher
The goal is to get in, make a clean joint, and get out before you cook anything. Think of it like a quick handshake, not a lingering hug.
The Basic Soldering Technique: Step by Step (The “How To” That Actually Works)
Alright, let's actually solder something. The most common task you'll face is attaching a wire to a pad on a flight controller, ESC, or VTX. Here's the process broken down in a way you can repeat every time.
Step 0: Set up for success (30 seconds that saves boards)
- Stabilize everything: flight controller/ESC on a silicone mat, “helping hands” holding the wire.
- Ventilation: flux smoke is real—use airflow.
- Tip condition: wipe, then add a tiny bit of solder to the tip (a “tinned tip” transfers heat way better).
- Check polarity + pad labels before heat (especially on power leads).
Step 1: Prep your materials
Cut your wire to the correct length first. Then strip just enough insulation to make the connection: about 2-3mm is usually plenty. Too much exposed wire creates opportunities for shorts and stress fractures.
Step 2: Twist the strands and apply flux
Lightly twist the exposed strands so they stay together. Add a small dab of flux to the wire end and to the pad. Flux is what makes solder flow clean and fast—fast is how you avoid cooking pads.
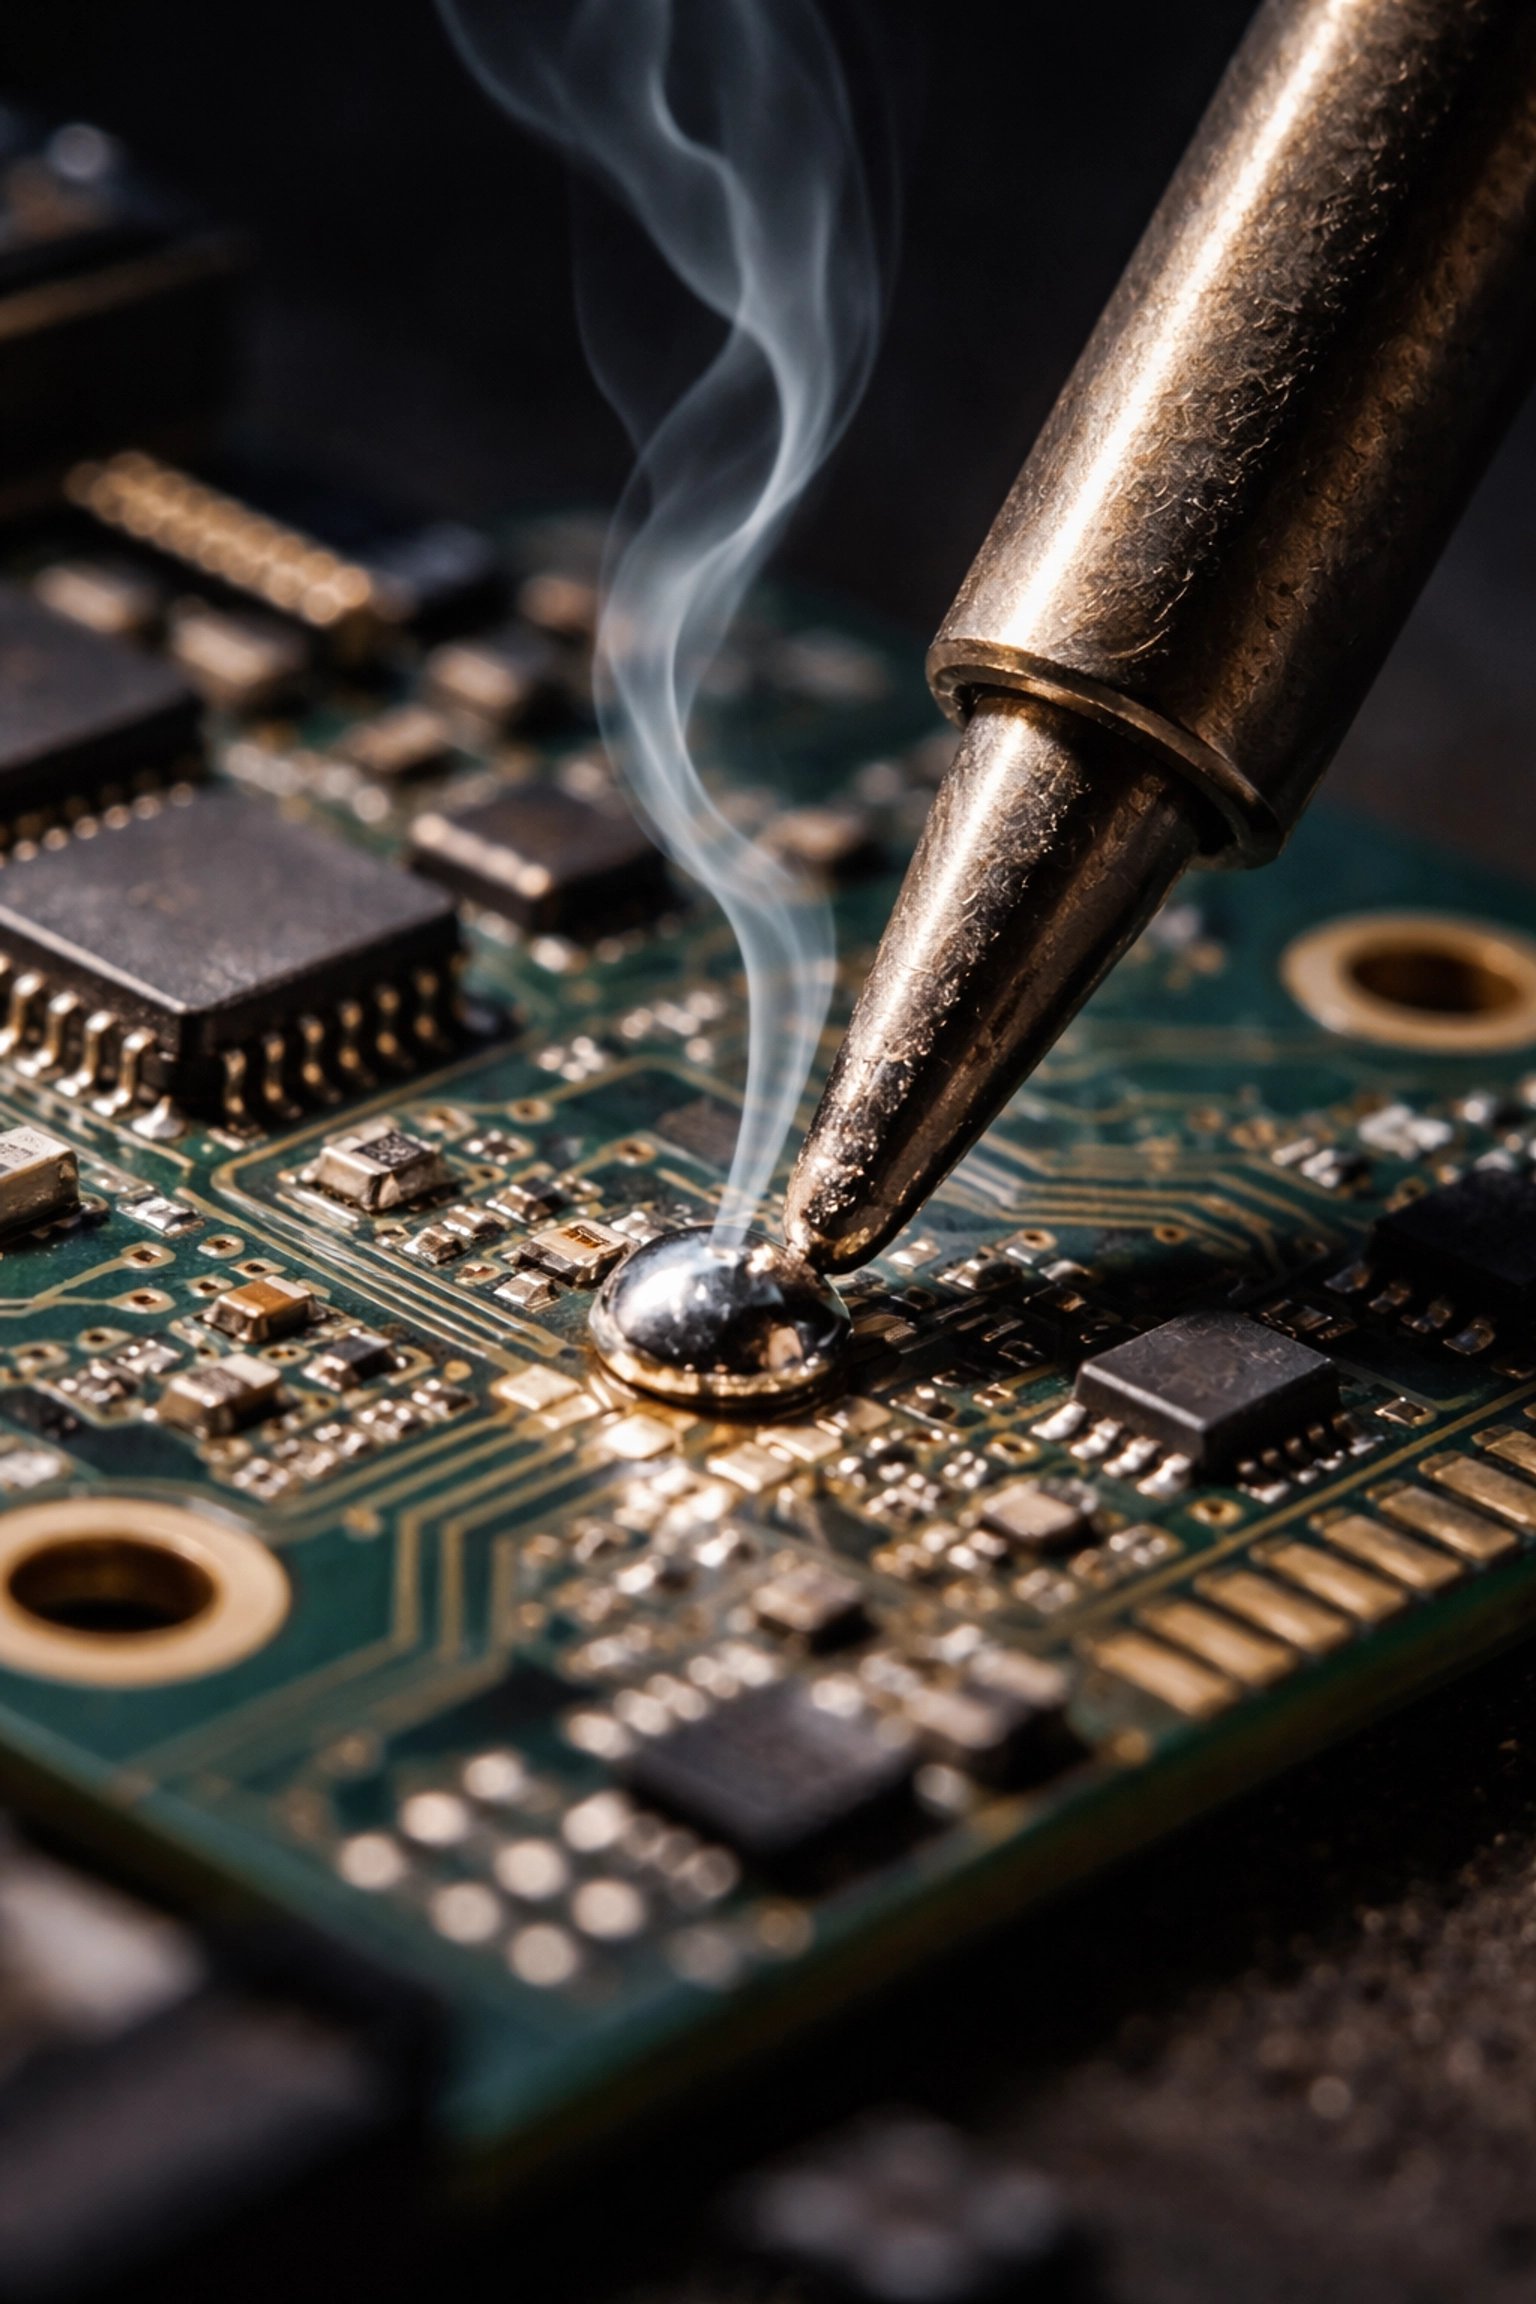
Step 3: Tin everything separately (this is the whole game)
Before you try to join the wire to the pad, apply a thin layer of solder to each one individually.
For the wire: Heat the stripped end with your iron while touching solder to the wire (not the iron). The solder should wick into the strands, making them stiff and shiny. Stop as soon as it’s fully soaked—don’t build a blob.
For the pad: Apply a tiny bit of flux, then touch your iron to the pad and add just enough solder to create a small dome. This "pre-tinning" means you won't have to fumble with solder wire while trying to hold everything in place later.
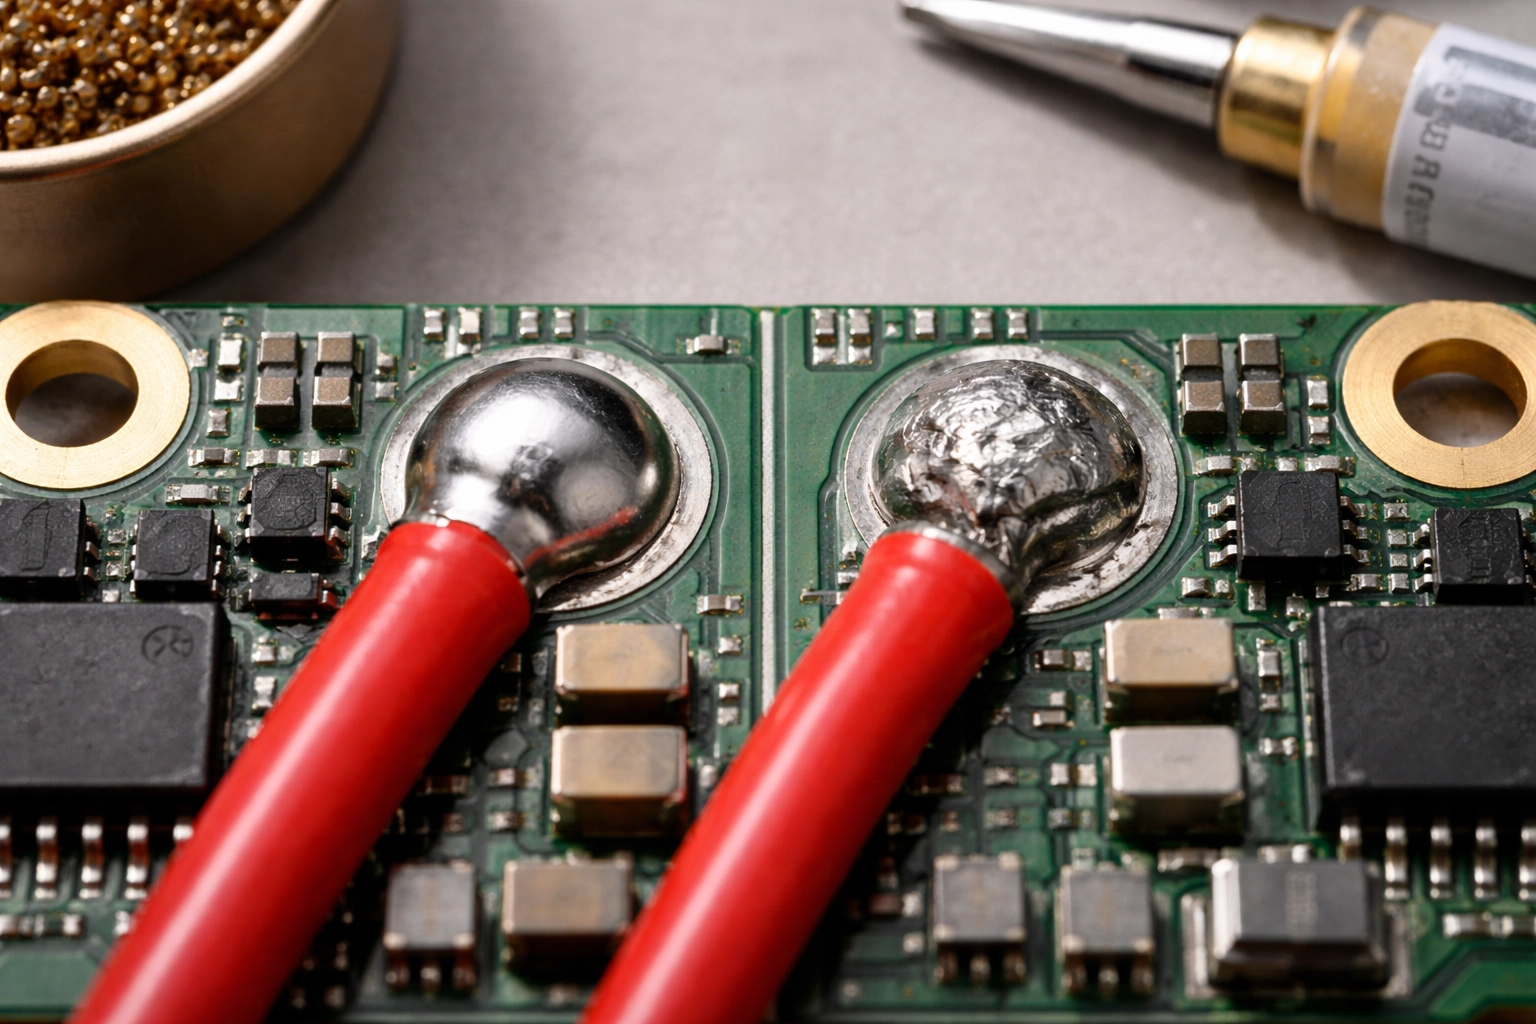
Step 4: Join the connection (heat both, then leave)
Now place your tinned wire on the tinned pad. Touch your soldering iron to both at the same time (pad + wire). When you see the solder turn glossy and “merge,” pull the iron away. This should only take 1–3 seconds.
If it takes longer than that, don’t keep cooking it—pause, re-flux, clean the tip, and try again.
Step 5: Hold steady while cooling
Once you remove the iron, keep the wire absolutely still for a few seconds while the solder solidifies. Moving it during cooling creates micro-fractures that will fail the moment you hit a hard landing.
Step 6: Inspect + strain relief
A good joint looks smooth and shiny, like a tiny silver dome. If it looks dull or grainy, add flux and reflow.
Then do a quick “tug test” (gentle). If the wire moves, it’s not done. Finally, add strain relief where appropriate (heat shrink, zip tie, or routing the wire so the pad isn’t taking vibration).
Need the right leads/connectors to make clean builds easier? Stock up here: FPV Parts (Wires + Connectors).
Common Mistakes and How to Avoid Them
Even experienced solderers mess up sometimes. Here are the most common pitfalls and how to dodge them:
Overheating the pad
This is the big one. If you leave your iron on a small pad for too long, the copper trace can literally peel off the fiberglass board. Once that happens, you're looking at either a tricky repair or a replacement component. Keep your contact time short: get in, make the joint, get out.
Using too much solder
More isn't better. Excess solder can bridge connections, creating shorts that cause all kinds of weird behavior. If you've got a blob, use solder wick or a desoldering pump to remove the excess.
Dirty soldering iron tip
If your tip is black and crusty, it won't transfer heat efficiently. Clean it frequently on your brass wire cleaner or wet sponge. A shiny tip is a happy tip.
Not using flux
Flux is your friend. It cleans oxidation and helps solder flow exactly where you want it. If your joints aren't looking great, add more flux before your next attempt.
Practice Makes Progress
Here's my honest advice: don't practice on your flight controller. Grab some old electronics from a thrift store, a dead ESC, or even just some spare wire and practice pads. Get comfortable with the heat, the flow, and the timing before you touch anything you actually care about.
Spend an afternoon just tinning wires and making joints on scrap components. You'll be amazed how quickly the muscle memory develops.
When to Call in the Pros
Look, there's no shame in knowing your limits. Some repairs are genuinely tricky: like replacing tiny surface-mount components, fixing lifted pads, or troubleshooting intermittent electrical issues that could be caused by a dozen different things.
If you've tried a repair and it's just not working, or if the thought of soldering on your brand new DJI O5 camera gives you anxiety, that's exactly why professional support exists.
At TechInMotion360, we offer FPV Drone Support Packages designed for exactly these situations. Whether you need a quick fix consultation to talk through a problem, basic maintenance and repair guidance, or advanced troubleshooting support for complex issues, we've got your back.
Think of it this way: learning to solder handles 80% of your repair needs. For that other 20%—the weird stuff, the expensive stuff, the "I really can't afford to mess this up" stuff—having expert support on call is worth its weight in gold.
And if you’d rather skip the trial-and-error entirely, bookmark this now: FPV Drone Support Packages.
Go Forth and Solder
You've got this. Soldering isn't some mystical art reserved for electrical engineers. It's a practical skill that any FPV pilot can learn with a little patience and practice. Start small, build your confidence, and before you know it, you'll be the one your flying buddies call when they need help fixing their quads.
And remember: whether you're tackling repairs yourself or need a hand from the pros, the goal is the same: getting you back in the air where you belong. Happy flying! 🚁
Leave a comment