
We’ve all been there. You’re pumped for a flight, batteries charged, goggles ready: and then something goes wrong. Your quad won’t arm. The video feed looks like a 1990s TV signal. Or worse, it takes off and immediately flips into the grass.
Before you launch your controller across the room, take a breath. Most FPV drone issues have straightforward fixes once you know where to look. I’ve compiled over 50 quick troubleshooting solutions that actually work, organized by problem type so you can get back in the air fast.
Let’s dive in.
The 4-Step Diagnostic Method
Before we get into specific fixes, here’s the approach that’ll save you hours of frustration:
- Understand what each component does
- Observe the problem and gather information
- Isolate the issue to a specific system
- Test your theory with practical checks
Keep this framework in mind as you work through the fixes below.
Motor and Propeller Fixes (1-12)

Motor problems are probably the most common headaches in FPV. Here’s how to tackle them:
1. Verify motor order : Check your ESC signal wire connections against the motor layout in Betaflight configurator. Mismatched motors will cause chaos.
2. Check motor rotation direction : Diagonal motors should spin the same direction. If motors 1 and 2 are reversed, swap them.
3. Spin test without props : Power up your quad without propellers and verify each motor spins freely. Listen for grinding or stuttering.
4. Inspect prop nuts : Loose prop nuts cause vibrations and can lead to mid-flight prop ejection. Tighten them snugly but don’t strip the threads.
5. Check for bent props : Even small bends create vibrations. Roll props on a flat surface: they should roll smoothly without wobbling.
6. Clean motor bells : Debris inside motor bells creates friction and heat. Use compressed air to clear out grass, dirt, and tiny rocks.
7. Check motor screws : Screws that are too long can puncture motor windings. Use the exact length specified by your motor manufacturer.
8. Test motor phase wires : If a motor stutters or won’t spin, check for broken phase wires at the solder joints.
9. Soft-mount your flight controller : Excessive vibrations cause the FC to overcorrect, making your quad shoot up uncontrollably or act erratic.
10. Balance your props : Unbalanced props create oscillations. Use a prop balancer or replace with fresh props.
11. Check motor bearings : Spin each motor by hand. Grinding or resistance means it’s time for new bearings or a new motor.
12. Verify motor timing : Incorrect motor timing settings in BLHeli can cause efficiency loss and overheating.
Need quality replacement drone components? We’ve got you covered.
Arming and Throttle Fixes (13-22)
Nothing’s more frustrating than a quad that won’t arm. Here’s your checklist:
13. Check throttle endpoints : Your throttle range should be 1000-2000. If your minimum is higher, Betaflight won’t arm.
14. Verify throttle is at zero : Seems obvious, but if min_check is set too low, even a slightly raised throttle prevents arming.
15. Recalibrate your radio : Run through your transmitter’s calibration process to reset stick endpoints.
16. Check arming angle : If your quad isn’t level when you try to arm, it may refuse. Adjust the max arming angle in Betaflight or level your quad.
17. Disable runaway takeoff prevention temporarily : This safety feature can prevent arming if it detects issues. Disable it for testing, then re-enable.
18. Verify arming switch assignment : Double-check your aux channel is correctly mapped to your arming switch.
19. Adjust gyro calibration sensitivity : If your quad won’t initialize after power-up, increase “gyro_calib_noise_limit” in CLI to 100 or 120.
20. Check for CLI errors : Type “status” in Betaflight CLI to see active arming prevention flags.
21. Verify accelerometer calibration : An uncalibrated accelerometer triggers arming prevention. Recalibrate on a level surface.
22. Update firmware : Outdated firmware can cause weird arming issues. Flash the latest stable Betaflight release.
Receiver and Communication Fixes (23-32)

Lost connection? Failsafe triggering randomly? Try these:
23. Check RX power wires : Broken power wires to your receiver are a common culprit. Inspect solder joints carefully.
24. Rebind your receiver : Sometimes the simplest fix works. Put your RX in bind mode and rebind to your transmitter.
25. Verify channel mapping : AETR vs TAER mapping mismatches cause weird control behavior. Match your TX to your Betaflight settings.
26. Listen to beeper codes : Your flight controller communicates through beeps. Specific patterns indicate receiver link issues or throttle position errors.
27. Check antenna placement : RX antennas buried under carbon fiber get poor signal. Position them for clear line-of-sight.
28. Verify UART assignment : Make sure your receiver is connected to the correct UART and that it’s enabled in Betaflight.
29. Check protocol settings : SBUS, CRSF, FrSky: verify your receiver protocol matches what’s configured in Betaflight.
30. Update RX firmware : Outdated receiver firmware can cause connection drops. Update through your manufacturer’s software.
31. Test in receiver tab : Use Betaflight’s receiver tab to verify all channels respond correctly to stick inputs.
32. Replace damaged antennas : Bent or broken RX antennas dramatically reduce range. Swap them out.
Power and Electrical Fixes (33-42)
Electrical gremlins can drive you crazy. Here’s how to hunt them down:
33. Check battery voltage : A battery that shows “full” might be sagging under load. Test voltage while connected to your quad.
34. Inspect for battery swelling : Puffy LiPo batteries are dangerous and should be retired immediately.
35. Test your 12V BEC : Use a multimeter on the 12V pad. If you read 0V, your voltage regulator is fried and needs replacement.
36. Add a capacitor : Install a minimum 25V 200µF capacitor across main battery terminals to absorb voltage spikes from motor braking.
37. Connect ESC signal ground : For DShot ESCs, connecting the signal ground wire is strongly recommended for reliable communication.
38. Check XT60 connector : Loose or corroded battery connectors cause intermittent power loss. Clean or replace them.
39. Verify VTX power settings : Running your video transmitter at high power without adequate cooling causes brownouts.
40. Test components in isolation : If something acts strange, remove it from the quad and test with a known good power supply.
41. Check for shorts : Use a multimeter in continuity mode to check for shorts between power and ground pads.
42. Inspect voltage regulator output : Verify your 5V and 3.3V regulators output correct voltage under load.
When electrical issues get complex, our FPV Drone Support Packages can help you diagnose and fix problems fast.
Wiring and Connection Fixes (43-50)
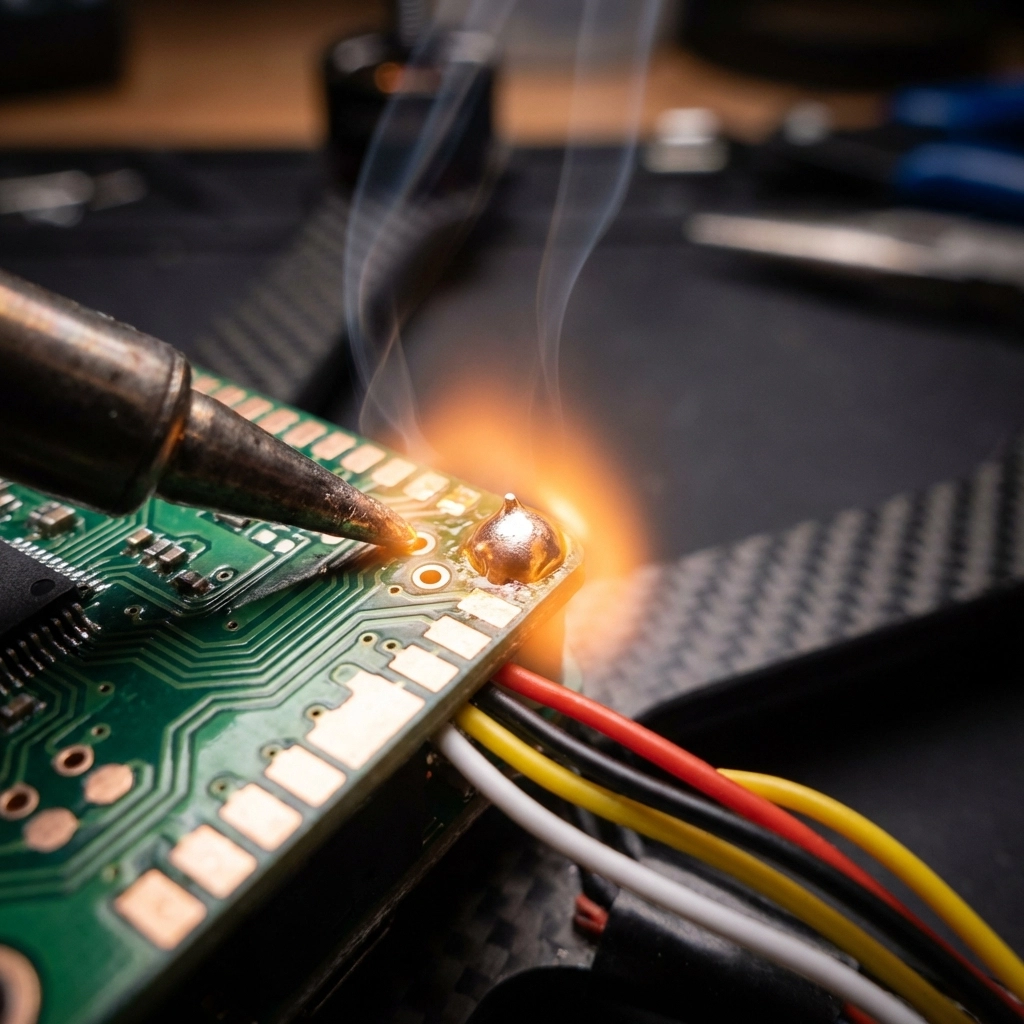
Bad connections cause more crashes than bad flying. Here’s what to check:
43. Reflow solder joints : Cold solder joints look dull and cause intermittent connections. Reheat and add fresh solder.
44. Check crimped wire connections : Silicon-coated wires can break inside the insulation at crimp points while looking fine externally.
45. Use a data USB cable : Power-only USB cables won’t connect to Betaflight. Make sure you’re using a data cable.
46. Secure loose wires : Vibrations cause wires to break at solder joints. Use hot glue or zip ties to secure everything.
47. Check continuity on all connections : Systematically test every wire for continuity from end to end.
48. Replace damaged connectors : JST and SH connectors wear out. Replace them before they cause mid-flight failures.
49. Inspect motor wire solder joints : These take a lot of abuse. Reflow any that look questionable.
50. Check frame for shorts : Carbon fiber frames conduct electricity. Make sure no exposed pads or wires contact the frame.
Video System Fixes (51-55)
51. Tighten camera screws : Loose camera mounting causes jello and shaky footage.
52. Check camera sensor : A loose sensor inside the camera housing creates image stabilization nightmares.
53. Verify VTX channel : Make sure your goggles and VTX are on the same channel and band.
54. Replace damaged VTX antenna : A damaged antenna drastically reduces range and video quality.
55. Check camera cable connection : The ribbon cable between camera and VTX can work loose. Reseat it firmly.
When to Call for Backup
Look, sometimes the problem goes deeper than a quick fix can solve. If you’ve worked through this list and you’re still stuck, don’t burn hours chasing ghosts.
Our Performance Tune & Troubleshoot package gives you expert eyes on your setup. And if your quad took a hard hit, the Crash Recovery Package gets you flying again without the headache.
Check out more tips and guides on the TechInMotion360 blog, and remember: every pilot has dealt with these issues. You’re not alone, and there’s always a fix.
Now get out there and fly.
Leave a comment