There’s something magical about watching perfectly executed aerial footage. The smooth glides over landscapes, the dramatic reveals, the way a well-crafted drone shot can make viewers feel like they’re soaring through the sky themselves. But here’s the thing, creating that kind of cinematic magic isn’t about luck or having the most expensive gear. It’s about mastering a handful of fundamental techniques that separate amateur footage from professional-grade content.
Whether you’re capturing real estate fly-throughs, documenting adventures, or building a portfolio that turns heads, this guide will walk you through five actionable steps to elevate your aerial game. Let’s get you flying like a pro.
Step 1: Plan Your Shoot with Purpose
Every breathtaking aerial shot you’ve ever seen started long before the drone left the ground. Planning isn’t just about logistics, it’s about vision.
Pre-Flight Essentials
Before you even think about creative decisions, nail down the basics:
- Check weather conditions: Wind speeds, cloud cover, and lighting all impact your footage dramatically
- Review local regulations: Know your airspace restrictions and any permits required
- Safety inspection: Battery levels, propeller integrity, GPS signal strength, don’t skip these
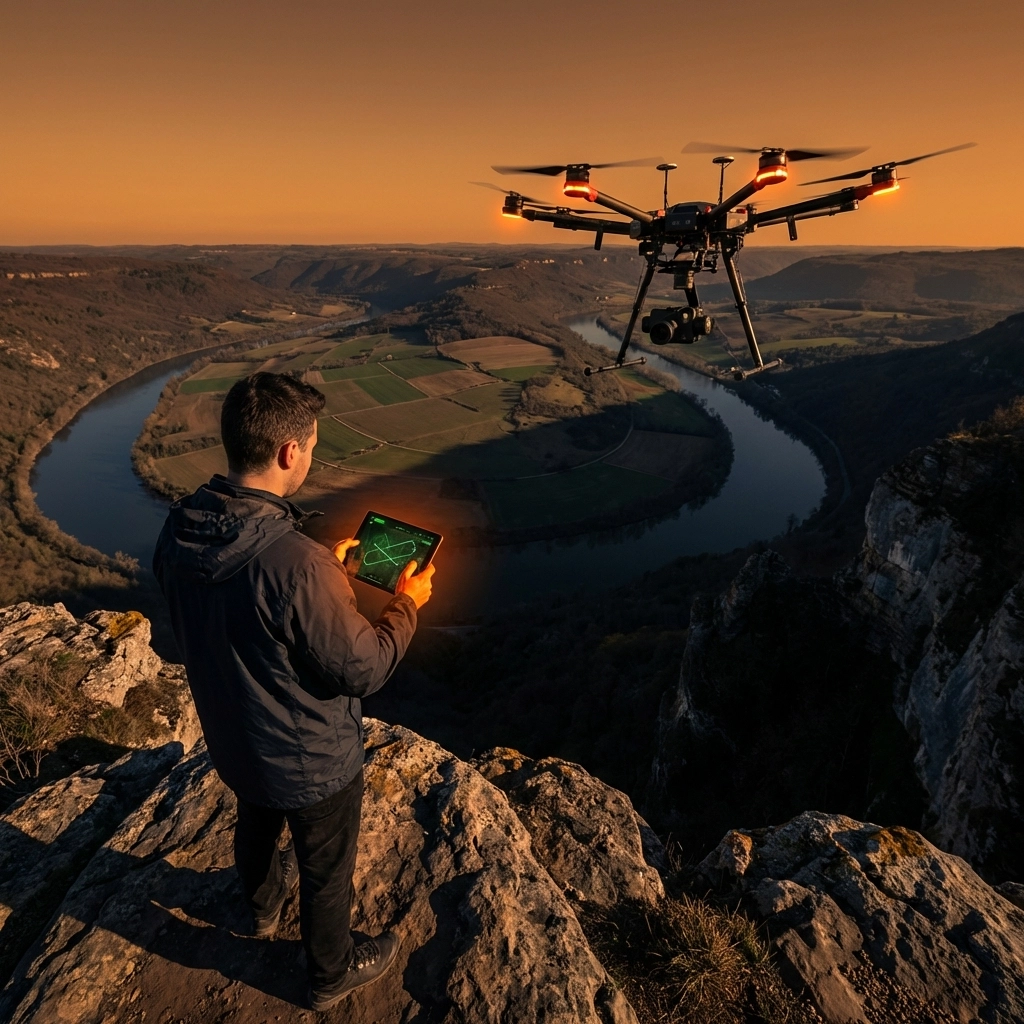
Storyboard with Intention
Here’s where amateurs and professionals diverge. Pros don’t just “go up and see what looks cool.” They define what each shot needs to accomplish. Ask yourself:
- Am I establishing a location?
- Am I following a subject through space?
- Am I building suspense or creating a reveal?
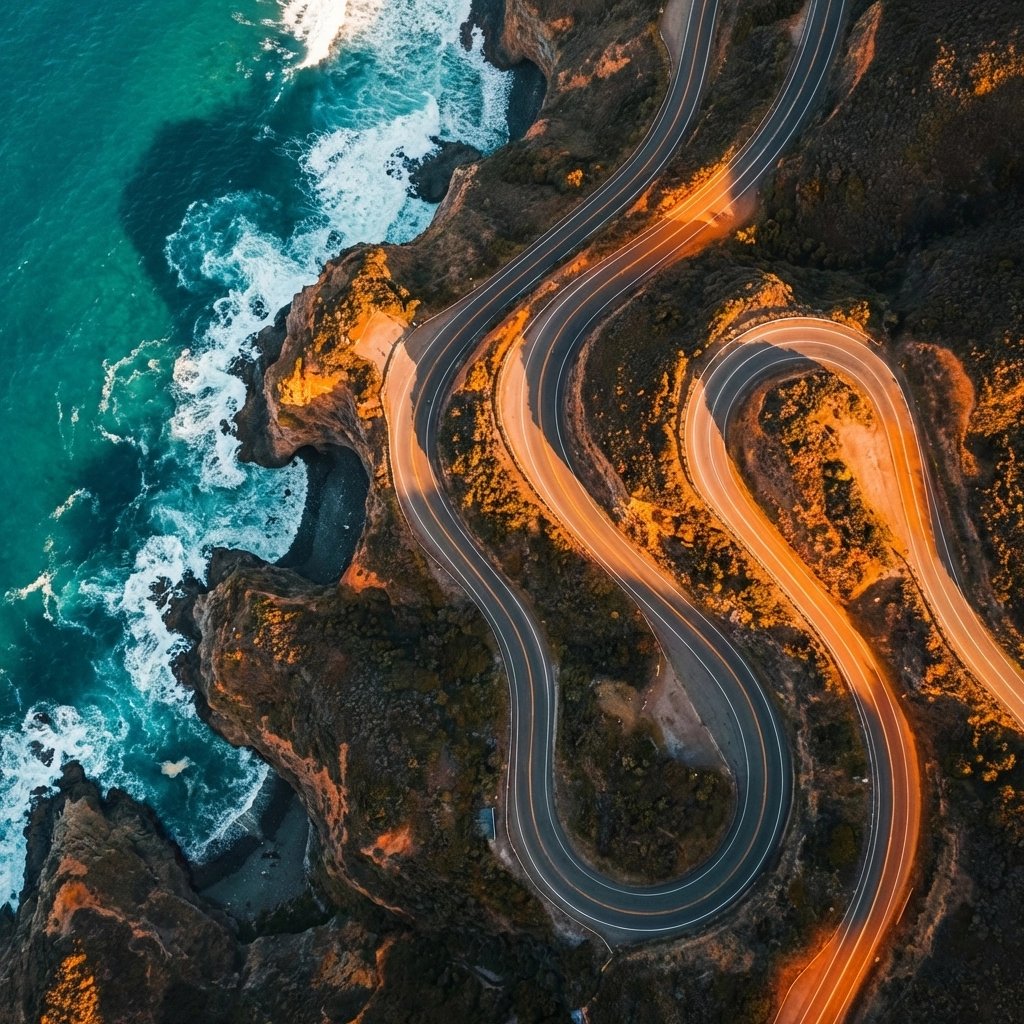
Think about leading lines in your environment, roads cutting through forests, rivers winding through valleys, architectural symmetry in urban settings. These natural guides pull viewers’ eyes through the frame and add serious depth to your compositions.
If you’re working with an FPV drone setup, planning becomes even more critical. FPV flying opens up dynamic possibilities, but it also demands knowing your flight path before you commit.
Step 2: Configure Optimal Camera Settings
Your drone’s camera is only as good as the settings you dial in. Get these right, and you’ll have footage that’s a dream to work with in post-production. Get them wrong, and no amount of editing will save you.
Resolution and Frame Rate
- Shoot in 4K: Even if your final output is 1080p, 4K gives you flexibility to crop, stabilize, and reframe without losing quality
- Frame rate choices: 24fps delivers that classic cinematic feel. 30fps works great for general content. Save 60fps and higher for footage you plan to slow down
The 180-Degree Rule
This one’s non-negotiable for natural-looking motion blur. Set your shutter speed to double your frame rate:
- Shooting 24fps? Shutter speed = 1/50
- Shooting 30fps? Shutter speed = 1/60
- Shooting 60fps? Shutter speed = 1/120
You might need ND filters to achieve these settings in bright conditions, but trust me, the smooth, filmic motion blur is worth it.
Color Profile Strategy
Shoot in a flat or log color profile whenever possible. Yes, the footage looks washed out straight from the camera. That’s the point. You’re preserving dynamic range and giving yourself maximum flexibility in color grading later.
Keep ISO as low as possible to minimize noise. Your shadows will thank you.

Step 3: Master Smooth Flight Control
Here’s a truth that took me way too long to learn: slow is smooth, and smooth is cinematic. Every jerky movement, every sudden correction: your footage captures all of it. And viewers feel it, even if they can’t articulate why something looks “off.”
The Art of Gradual Movement
Train yourself to make inputs gradually. Instead of snapping the stick to turn, ease into it. Let movements build and fade organically. Think of piloting like you’re operating a massive, expensive piece of equipment floating through air: because you are.
Adjust your gimbal pitch speed down to around 10 for slower, more controlled camera tilts. Fast gimbal movements scream “amateur” louder than almost anything else.
Leverage Automated Flight Modes
Modern drones come packed with intelligent flight modes that can elevate your footage dramatically:
- Waypoints: Pre-program exact flight paths for repeatable, buttery-smooth shots
- ActiveTrack: Let the drone handle subject tracking while you focus on flight path
- Point of Interest: Orbit shots that maintain perfect framing automatically
These aren’t cheats: they’re tools. Professionals use them constantly.
Combining Movements
Single-axis movements (just forward, just up, just panning) often look flat. The magic happens when you combine:
- Forward motion + gradual tilt down
- Rising altitude + slow orbit
- Backward pull + pan to reveal
These compound movements create depth and energy that single-axis shots simply can’t match.
For complex flying or if you’re still building confidence, TechInMotion360’s support packages can help you dial in your setup and troubleshoot flight behavior issues before they cost you a shot.
Step 4: Execute Dynamic Shot Compositions
Now we get to the fun part: the actual shots that make people stop scrolling and pay attention.
Essential Cinematic Shots to Master
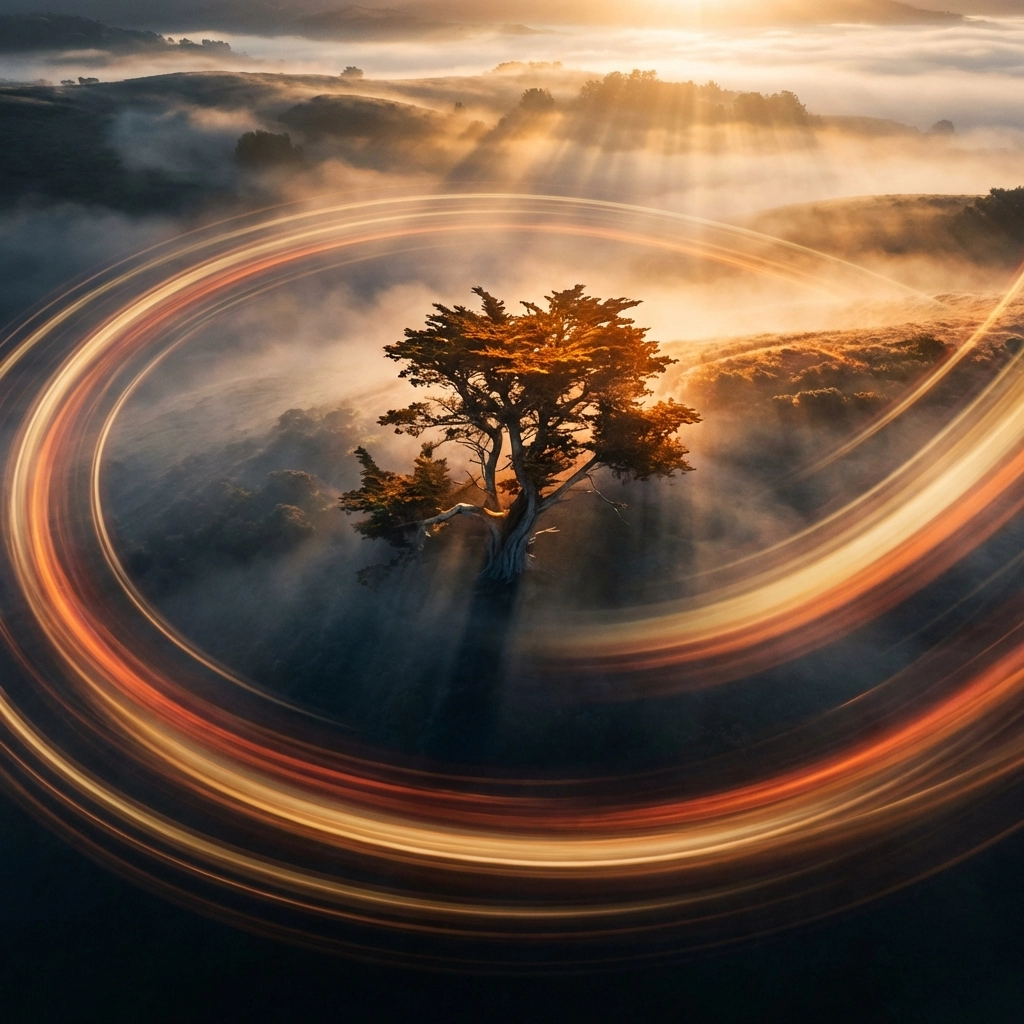
The Orbit Shot
Circle around your subject while keeping it centered in frame. This works phenomenally for architecture, vehicles, and people in dramatic landscapes. Point of Interest mode makes this easier, but manual orbits give you more creative control.
The Reveal Shot
Start with an obstructed or limited view: behind a tree line, facing a hillside, low to the ground. Then rise or push forward to reveal the full scene. The payoff is emotional. Viewers feel like they’re discovering something.
The Pull-Away
Begin hovering close to your subject, then gradually move backward and upward simultaneously. This creates scale and context, showing your subject in relation to the environment around it.
Low-Flying Glides
Skim low over water, grass, or terrain. The sense of speed and proximity creates immersive, high-energy footage. This requires practice and confidence: start higher than you think you need to.
Top-Down Perspective
Bird’s-eye shots looking straight down create abstract, geometric compositions. Roads become lines, crowds become patterns. It’s a perspective humans rarely see, which makes it inherently compelling.
Timing is Everything
Golden hour (just after sunrise, just before sunset) and blue hour (the 20-30 minutes before sunrise and after sunset) deliver lighting that’s nearly impossible to replicate any other way. The soft, warm tones during golden hour and the moody blues during blue hour add instant production value.
Plan your shoots around these windows whenever possible.
Step 5: Polish with Professional Post-Production
Raw footage: even great raw footage: needs finishing work. Post-production is where good becomes exceptional.
Stabilization First
Even the smoothest pilots benefit from post-stabilization. Tools like Warp Stabilizer in Premiere Pro or DaVinci Resolve’s stabilization engine can iron out micro-jitters you didn’t even notice while flying. Just don’t over-stabilize: it can create a weird, floating look.
Color Correction Workflow
- Fix white balance first: Get neutral, accurate colors before adding any creative looks
- Apply a base grade: Adjust contrast, bring back the dynamic range you captured in that flat profile
- Add creative color: LUTs (Look-Up Tables) can speed this up, but always tweak after applying: no preset is one-size-fits-all
- Fine-tune shadows and highlights: Preserve detail in both dark and bright areas
Variety in Your Edit
Aim to capture 4-5 different shot types for every sequence. Wide establishing shots, medium detail shots, close-ups, movement shots, and static shots. This variety gives you options in the edit and keeps viewers engaged through visual rhythm.
Pair your aerial footage with immersive perspectives from 360 action cameras for projects that demand multiple angles and maximum impact.
Bringing It All Together
Cinematic drone footage isn’t about one thing done perfectly: it’s about stacking fundamentals. Plan with intention. Dial in settings that serve your vision. Fly smooth and deliberate. Execute shots that tell stories. Polish everything in post.
The difference between footage that gets scrolled past and footage that stops people in their tracks? It’s these details, applied consistently.
If you’re ready to level up your setup with quality drone components or need expert support getting your rig dialed in, TechInMotion360 has you covered. Now get out there and create something that makes people feel like they’re flying.
For more tips, tutorials, and drone insights, check out the TechInMotion360 blog.
Leave a comment